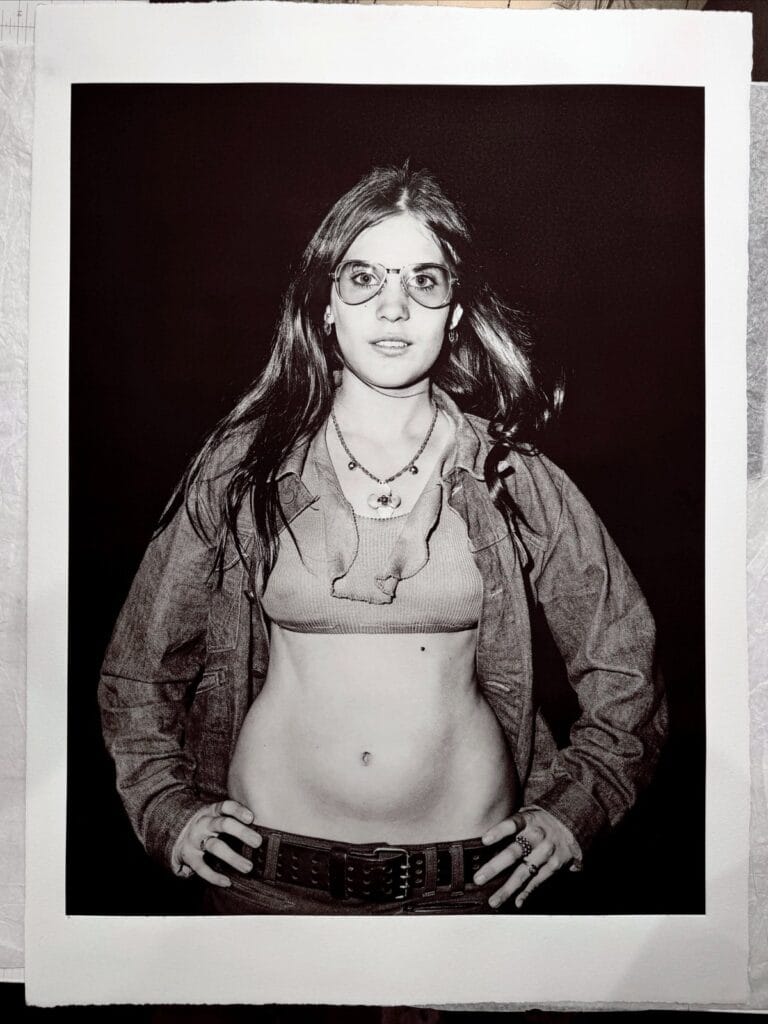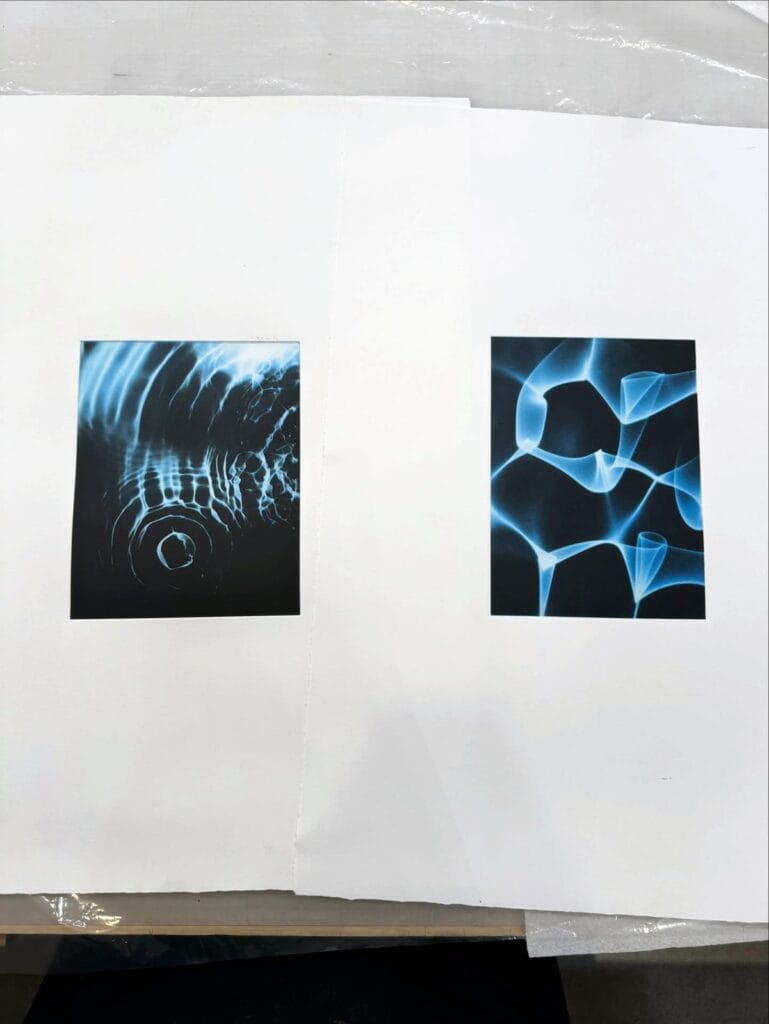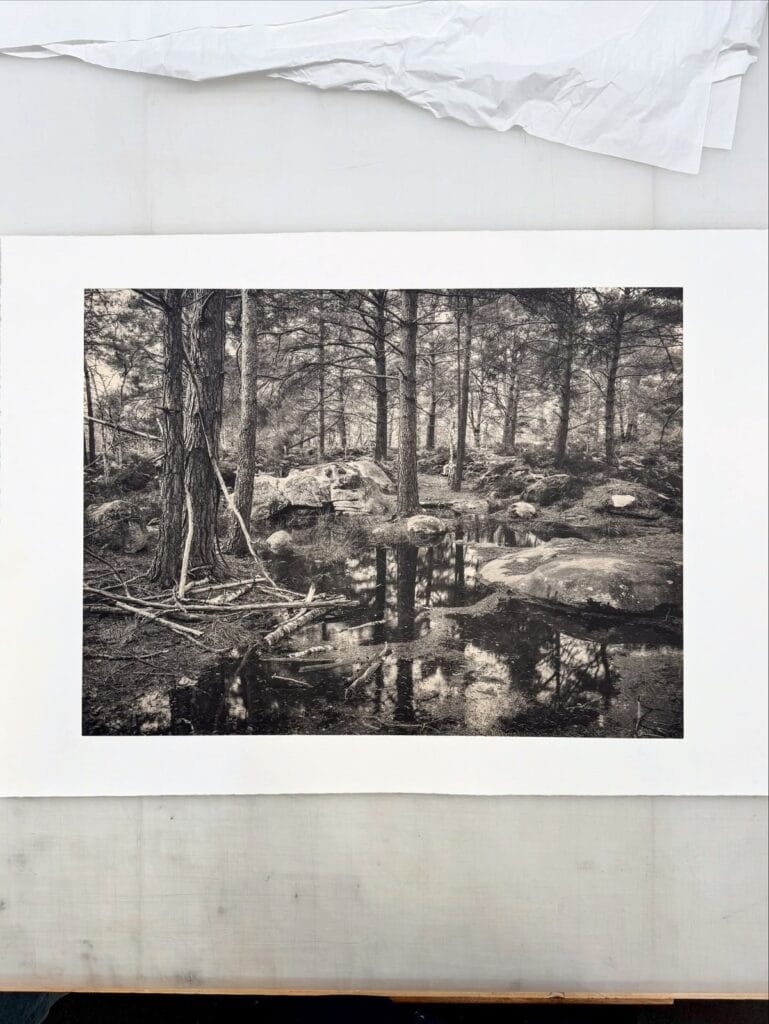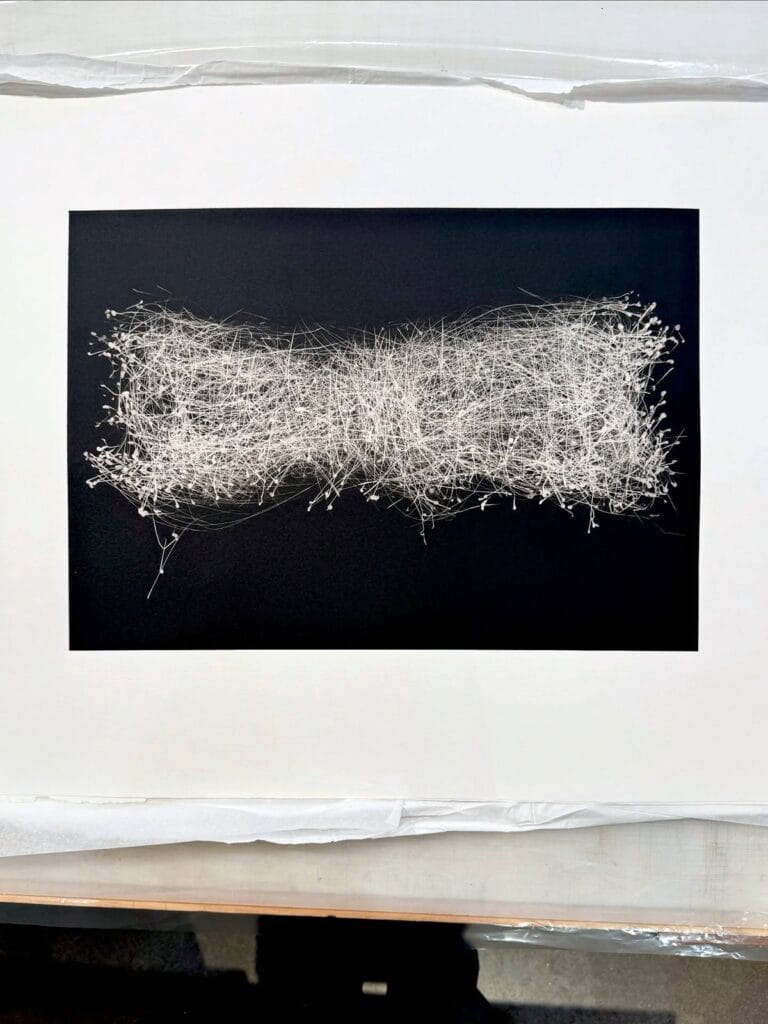
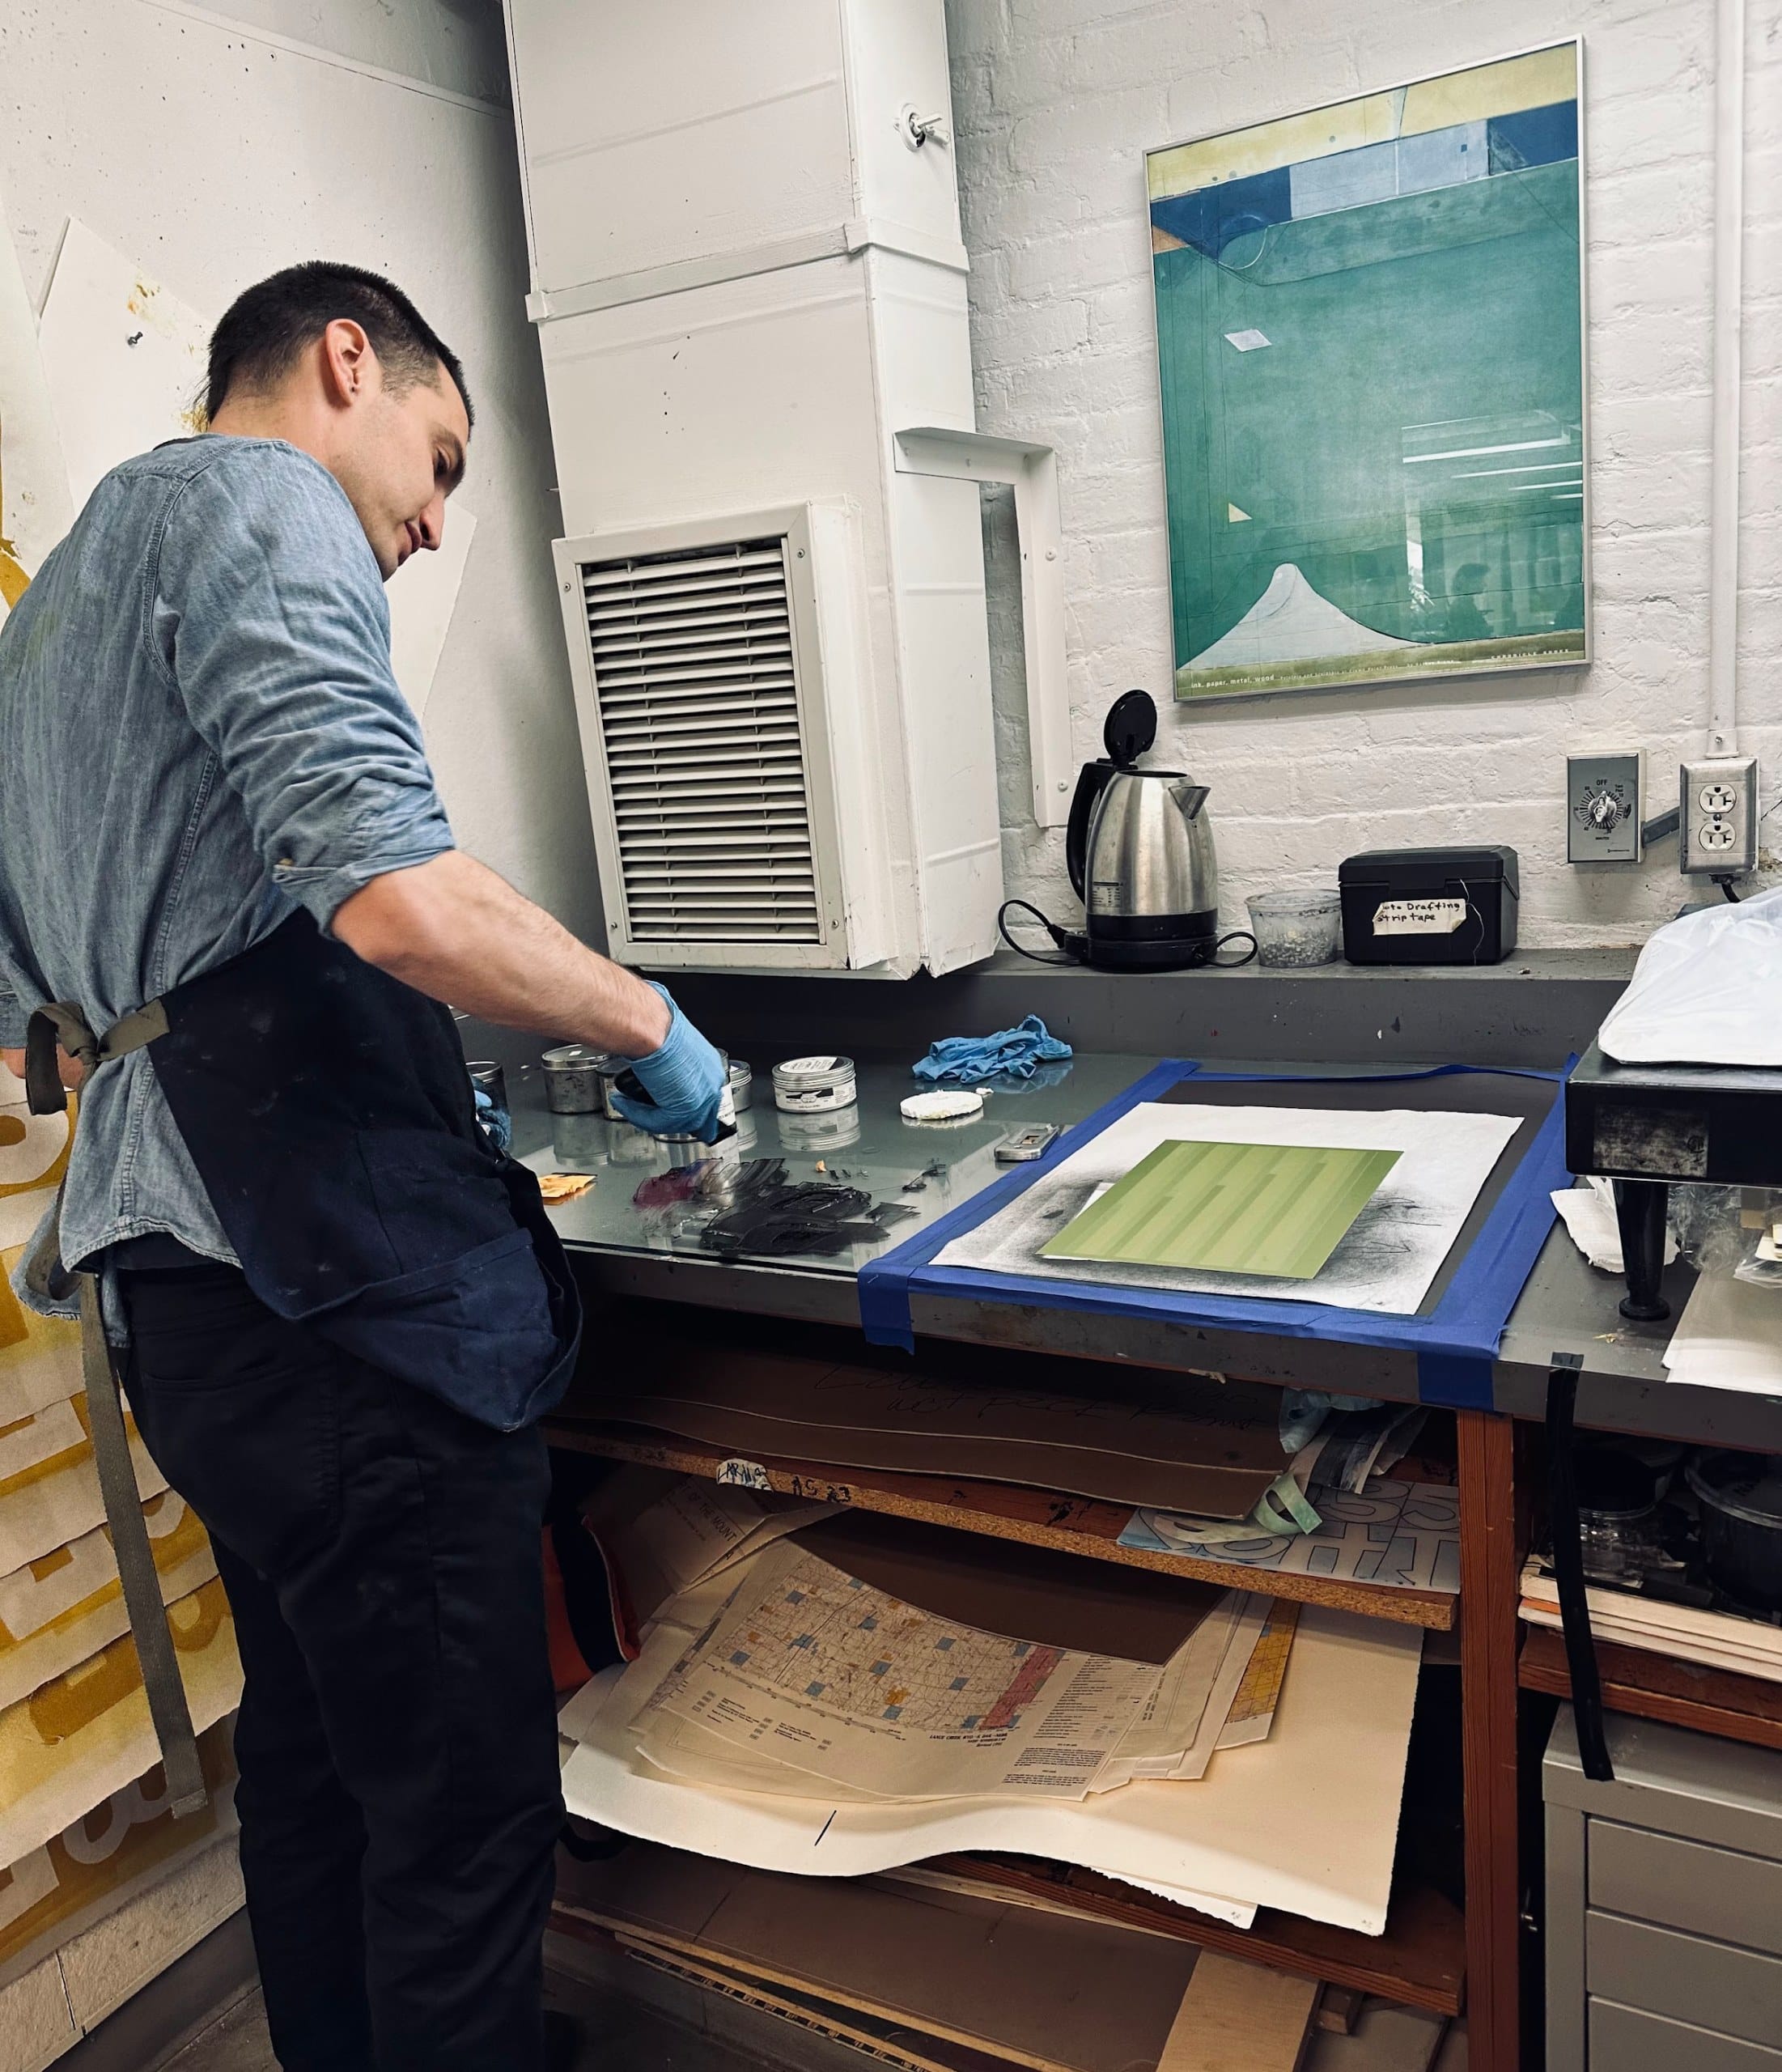
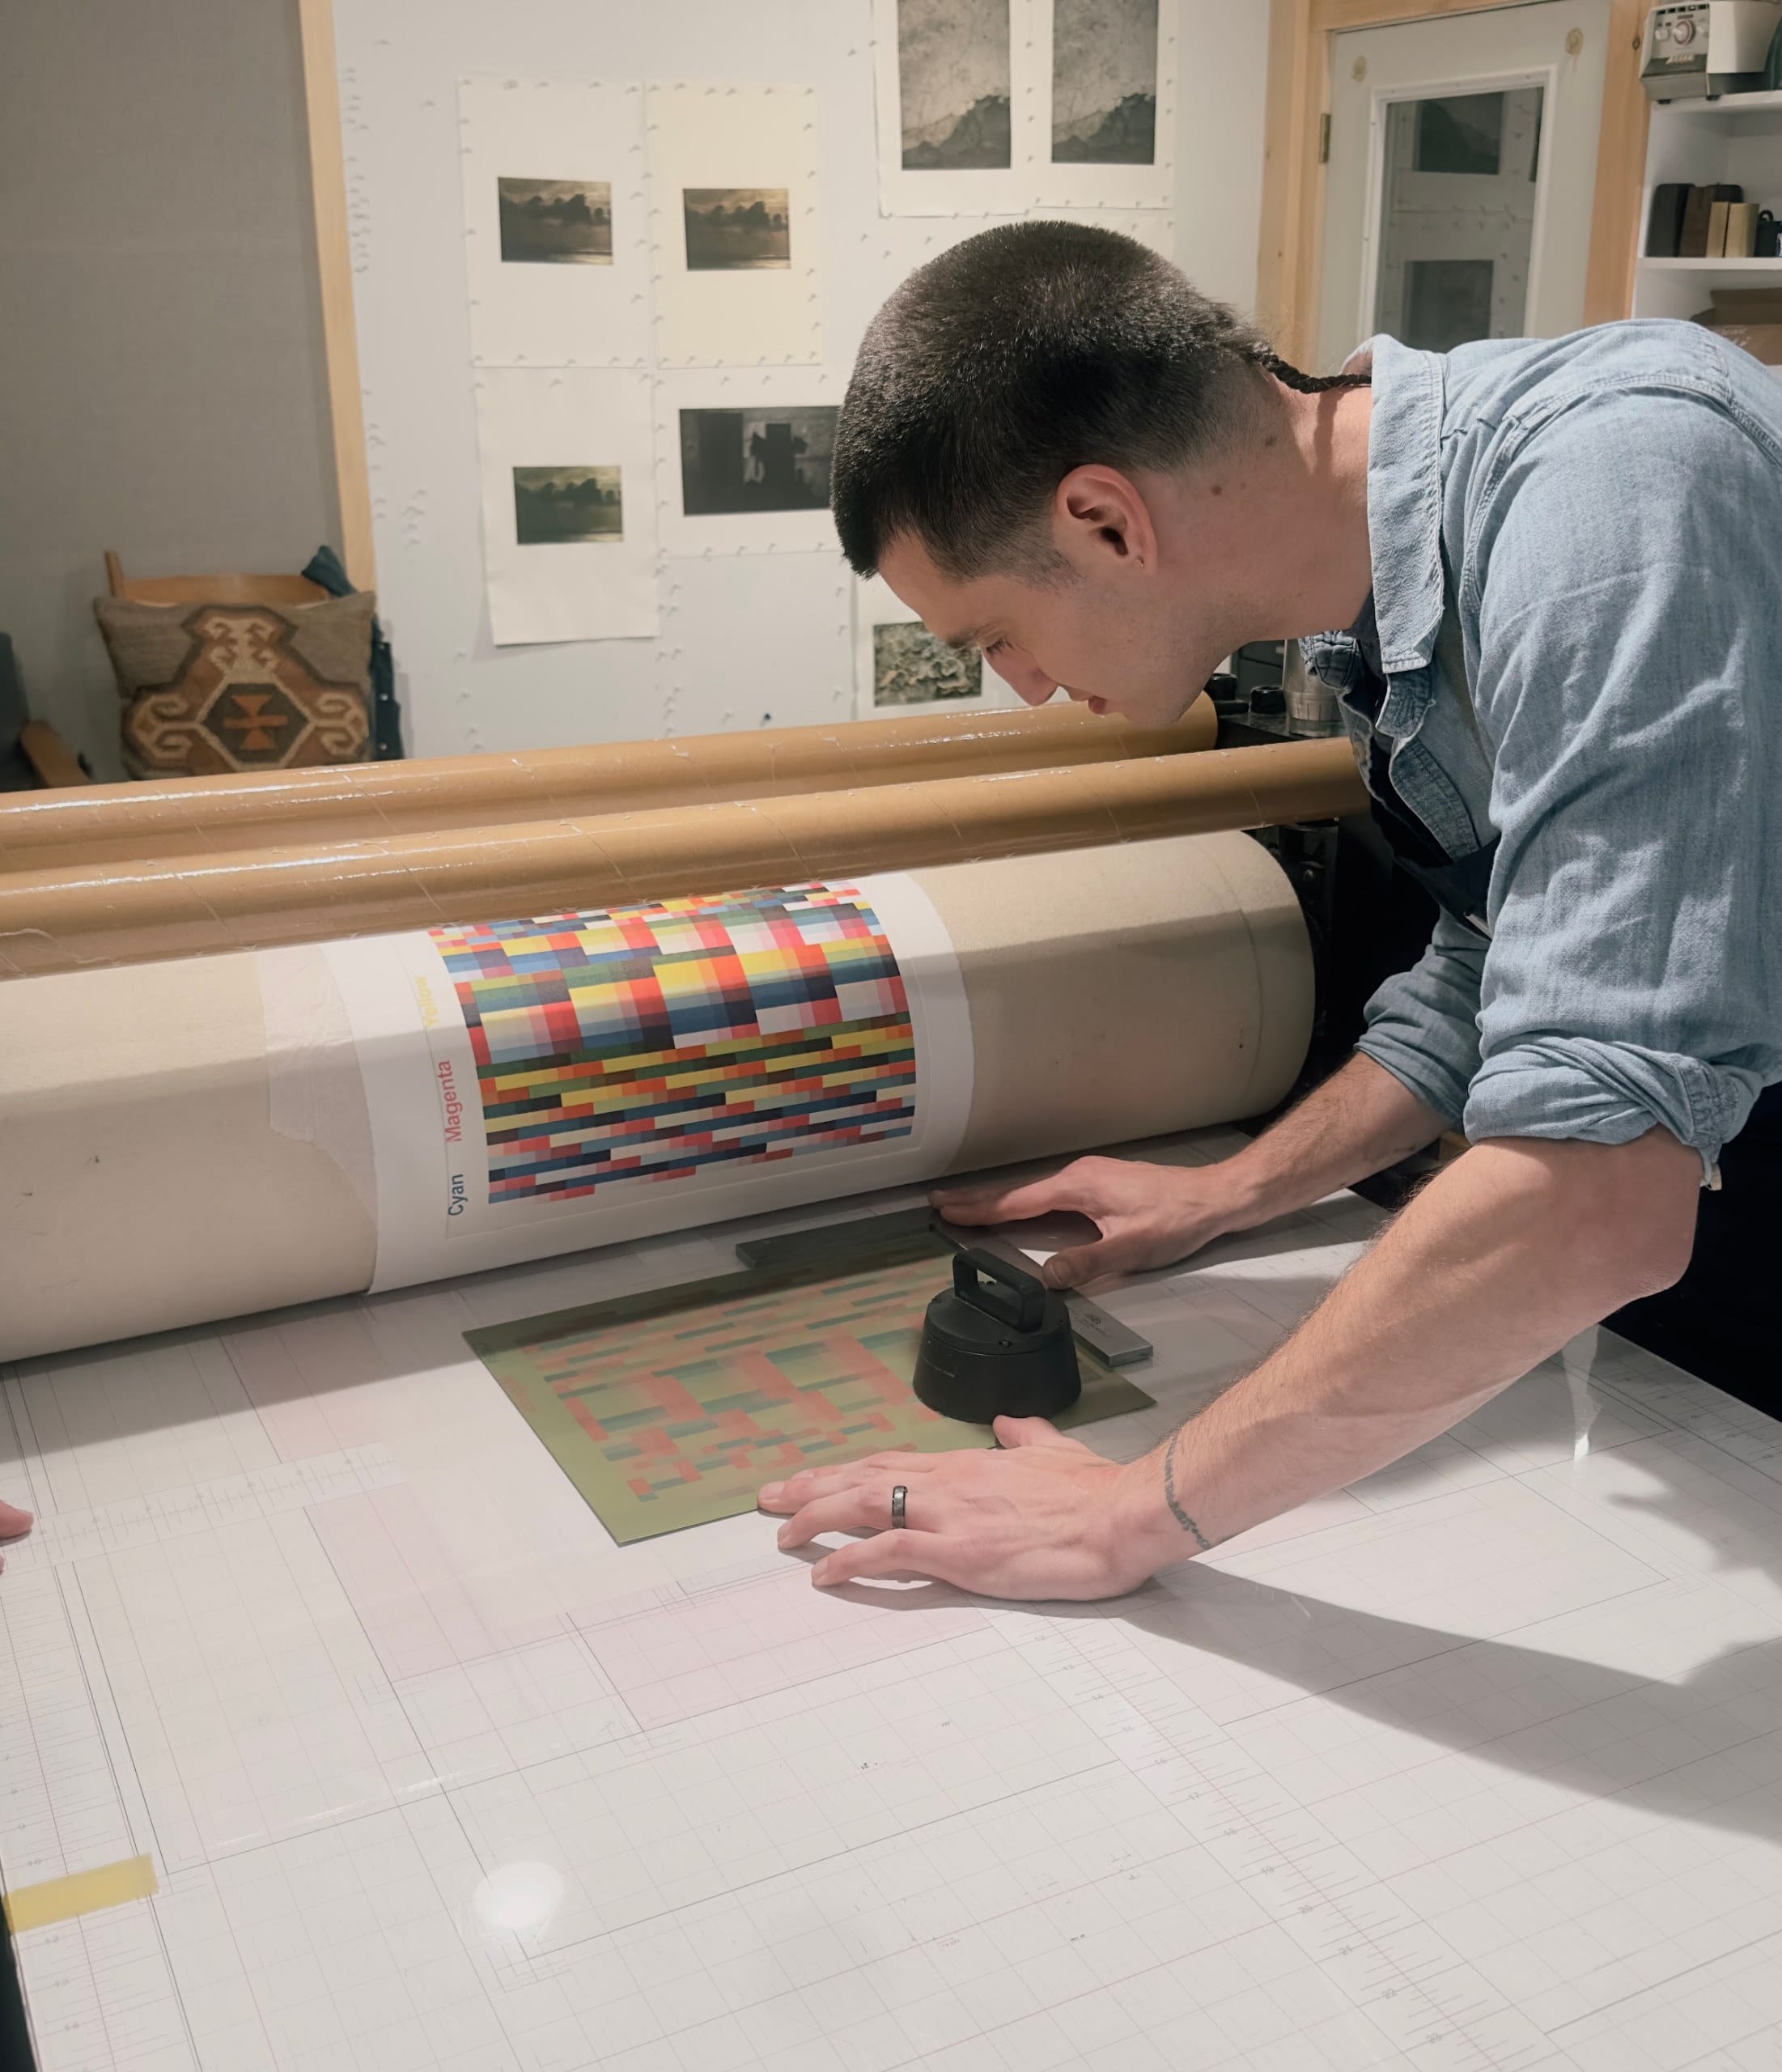
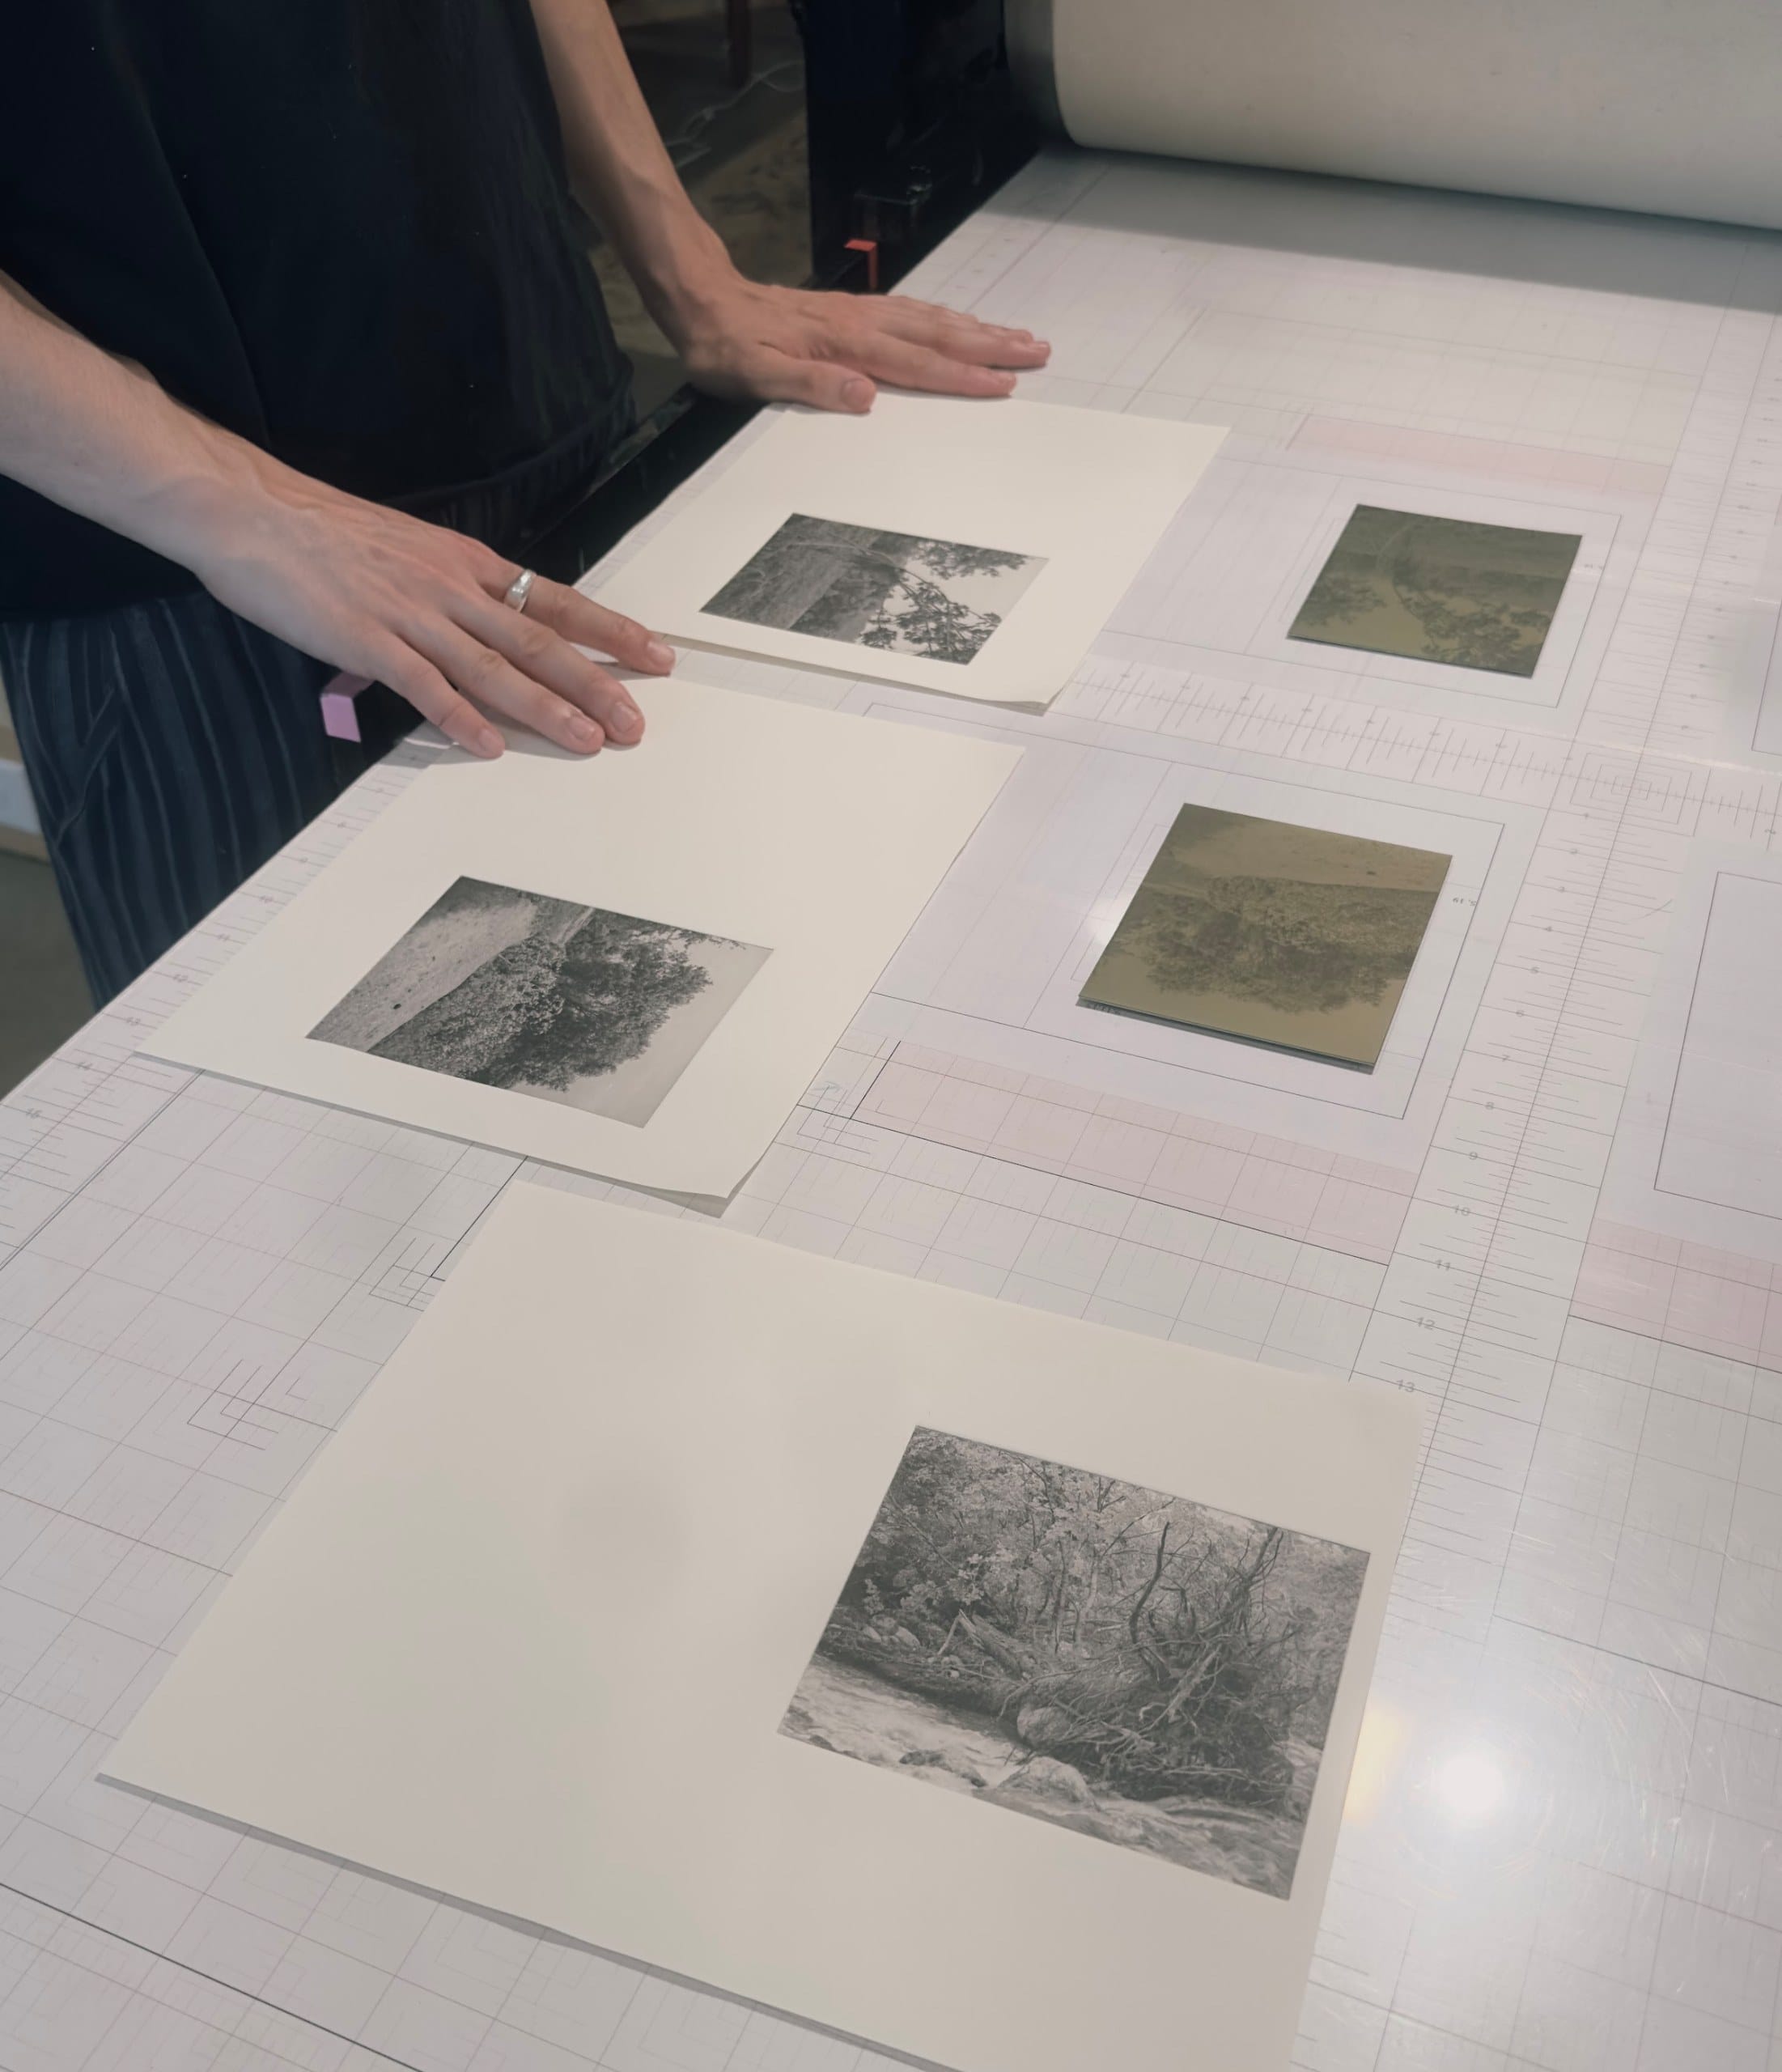
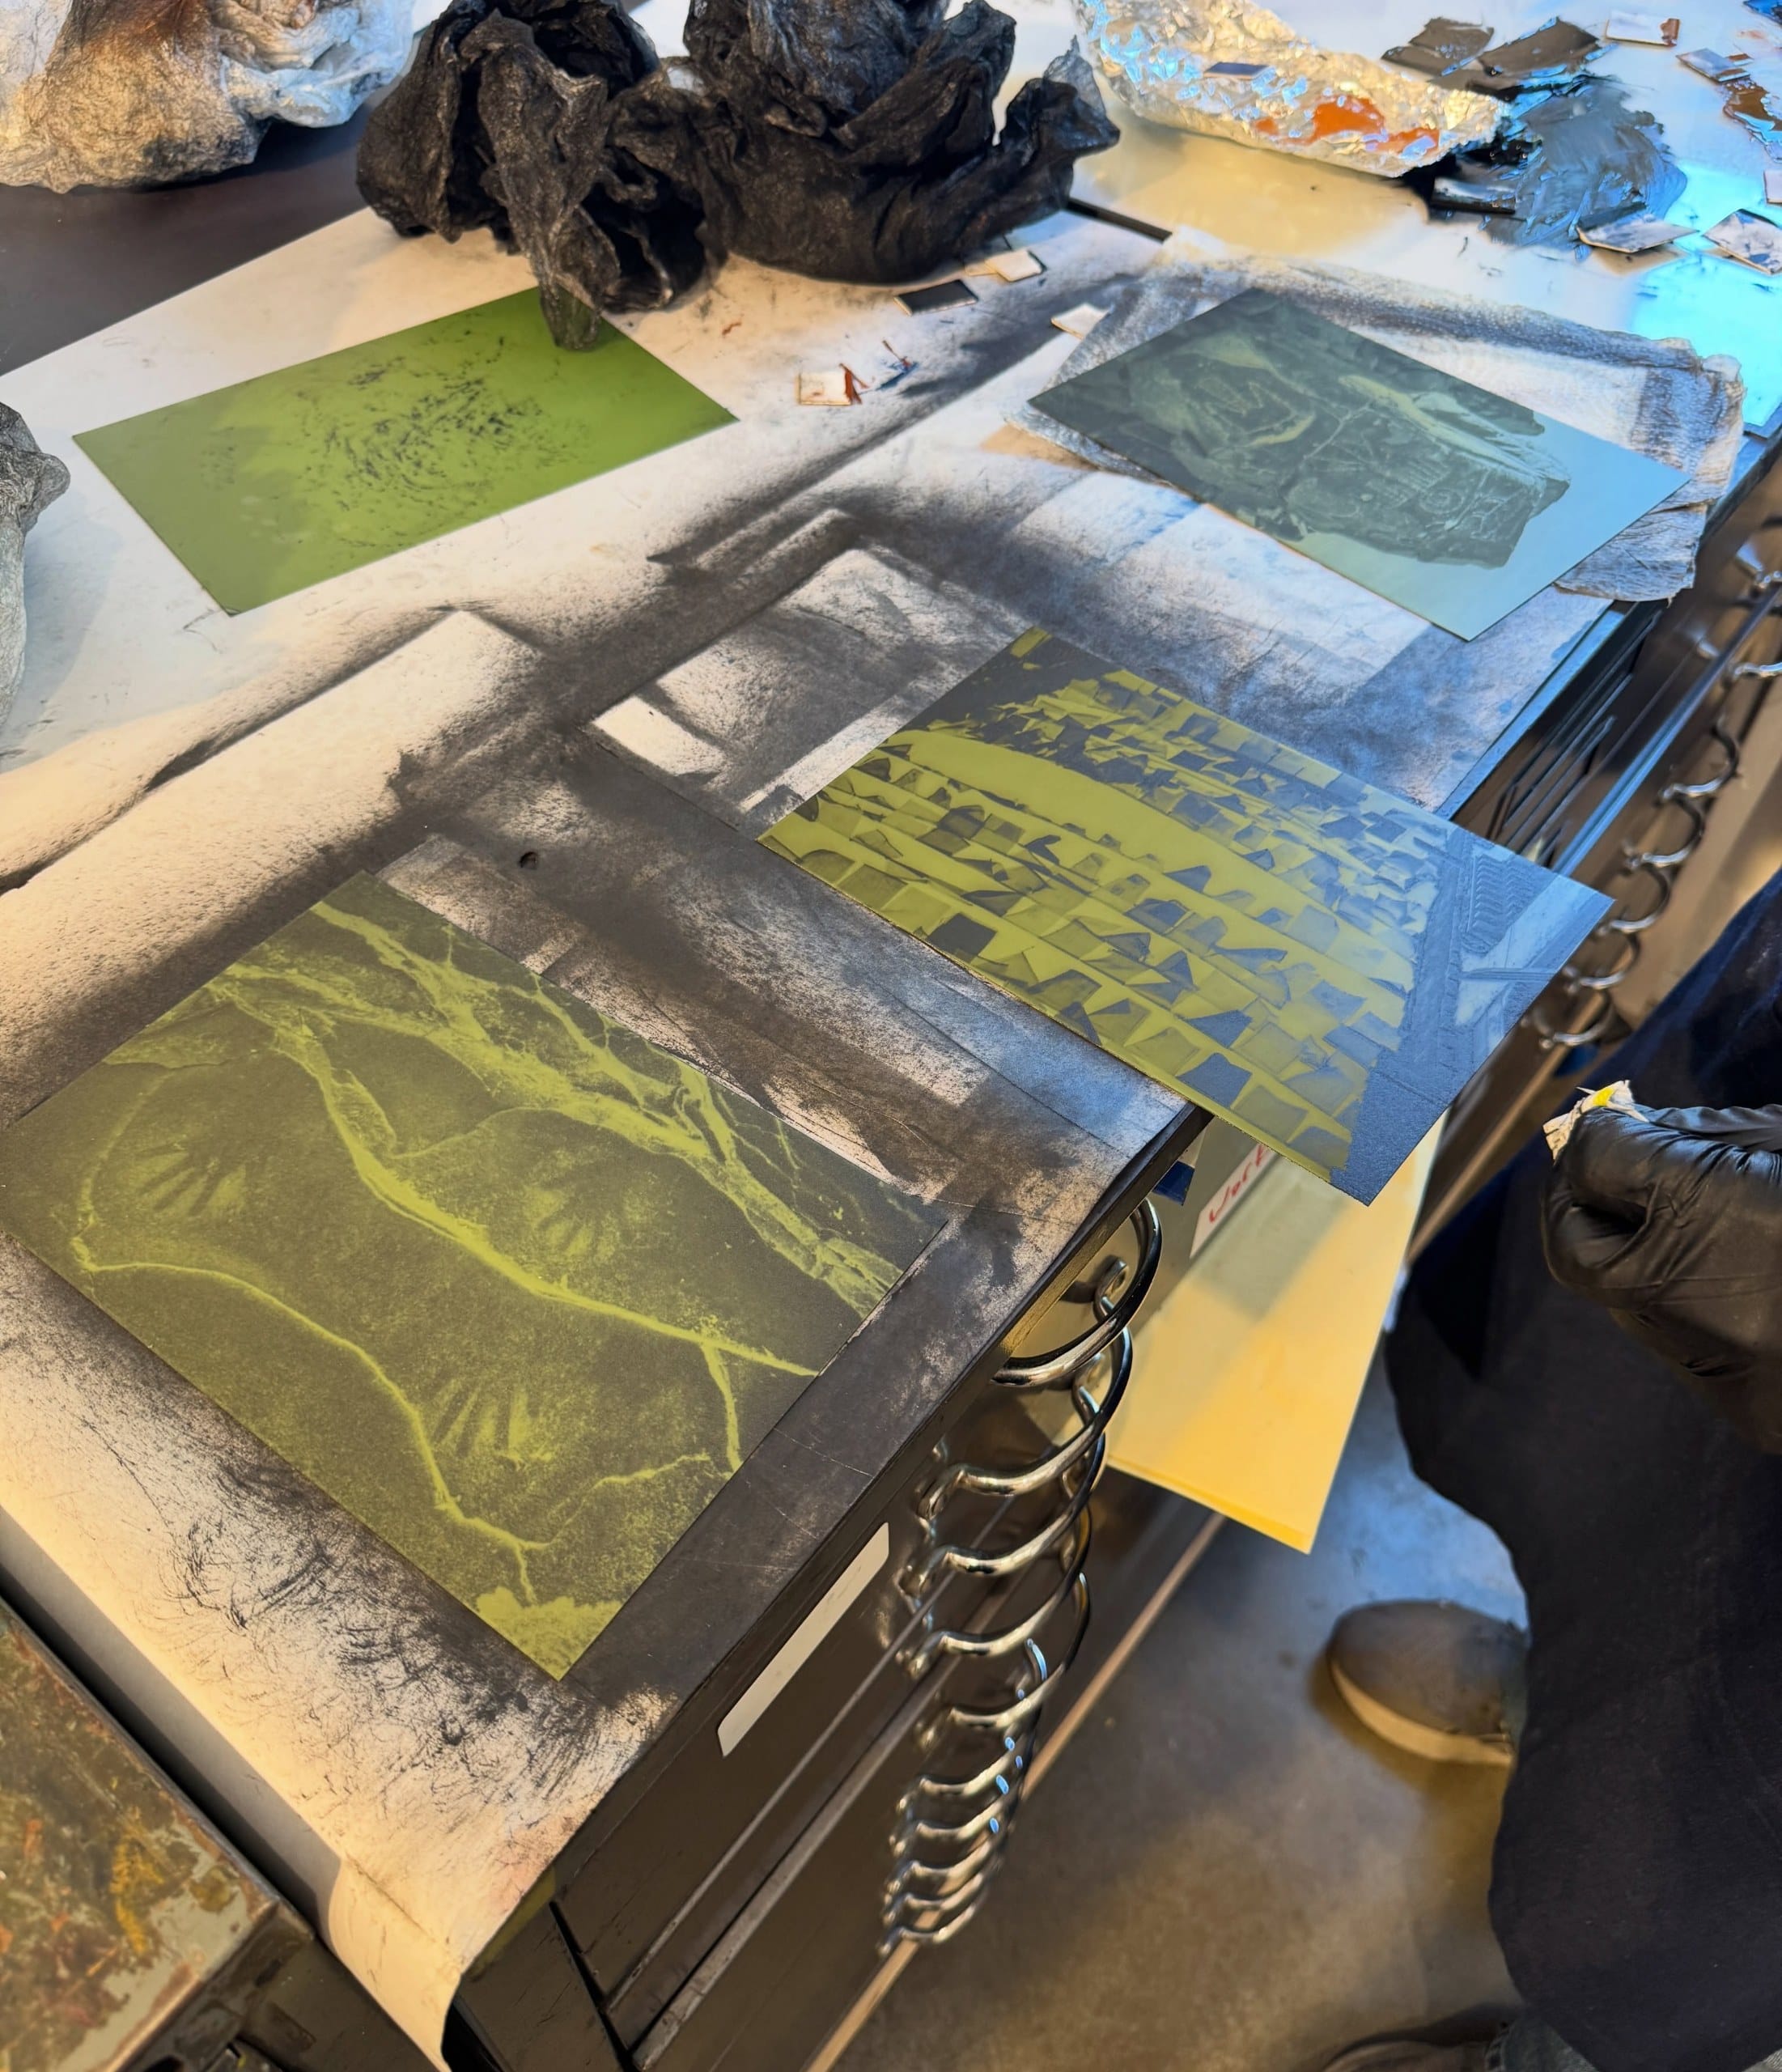
At Prints on Paper Studio we believe photogravure, and polymer photogravure in particular, can stand shoulder to shoulder with silver, inkjet and platinum printing. So we don’t just print for artists and teach workshops. We also set up studios and institutions around the world to work the way we do. To date we’ve set up more than twenty of them.
Secret-keeping isn’t in our nature. The more people who print this process at a high level, the more this kind of art object becomes a default in the art world, and the more demand there is for everyone. This product is the complete direct-to-plate (DTP) photogravure workflow we use every day: the training manual, QuadToneRIP curves, calibration tool, targets and step-by-step videos, so you can calibrate and print in your own studio.
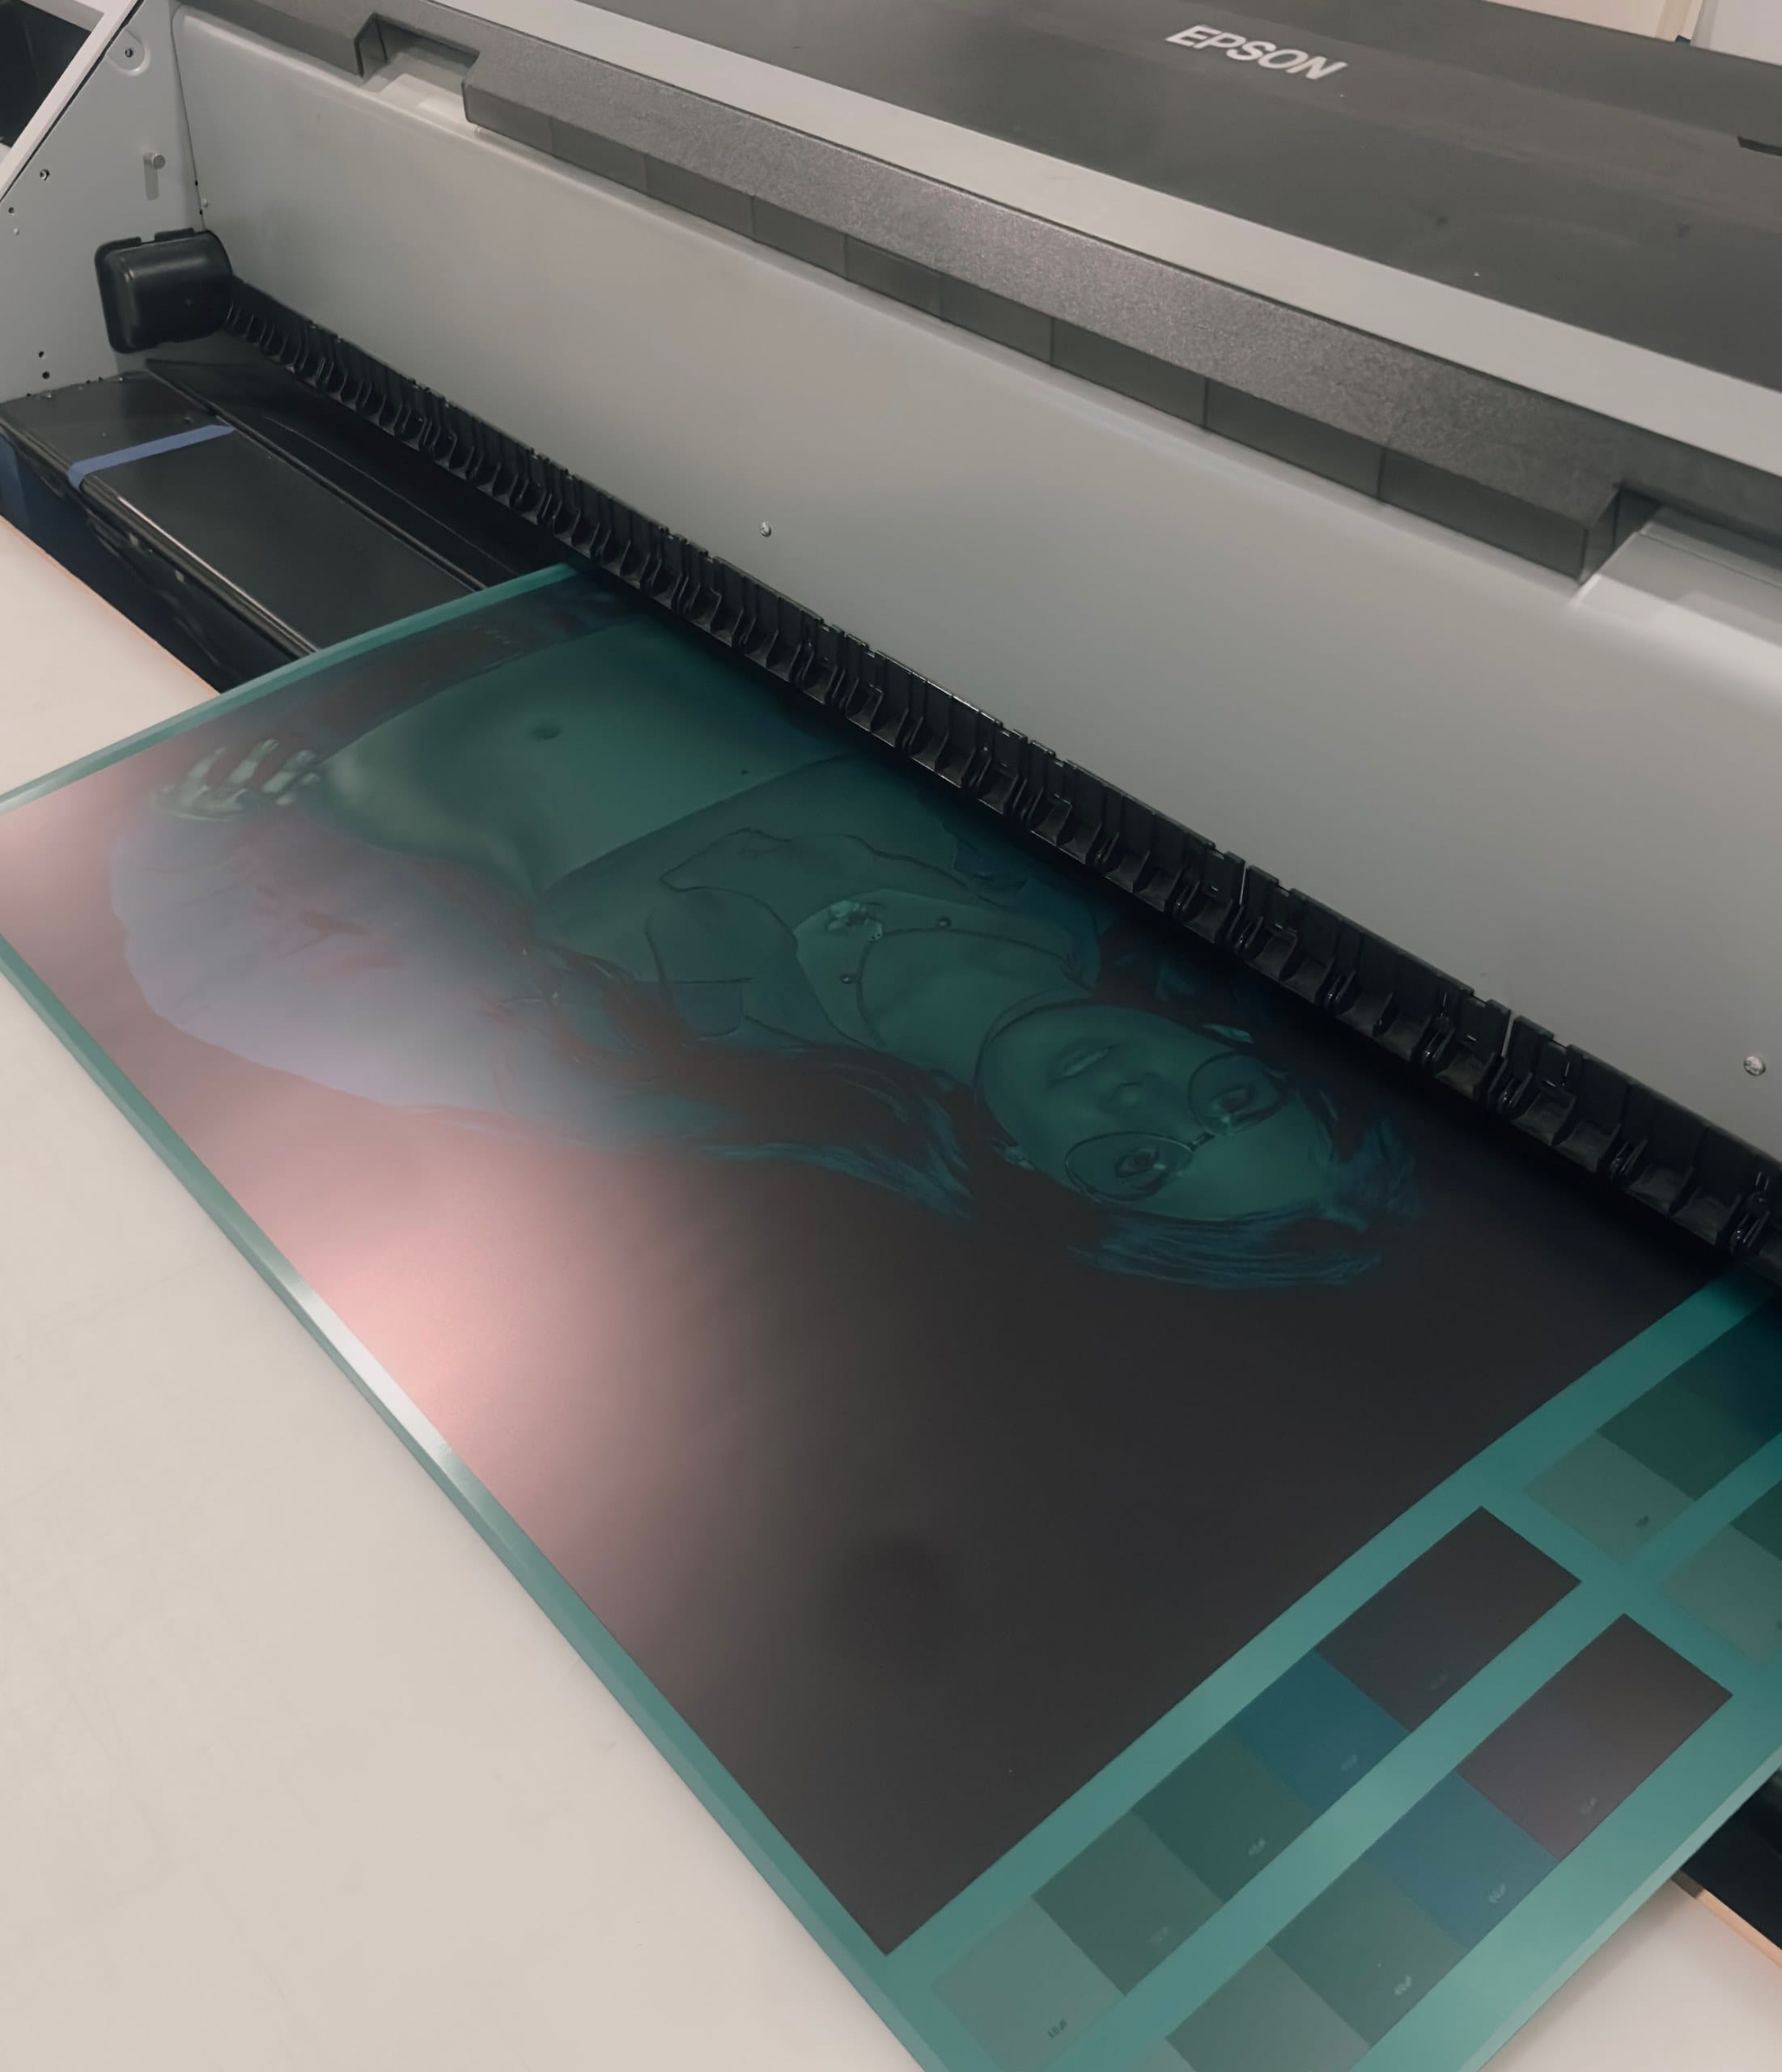
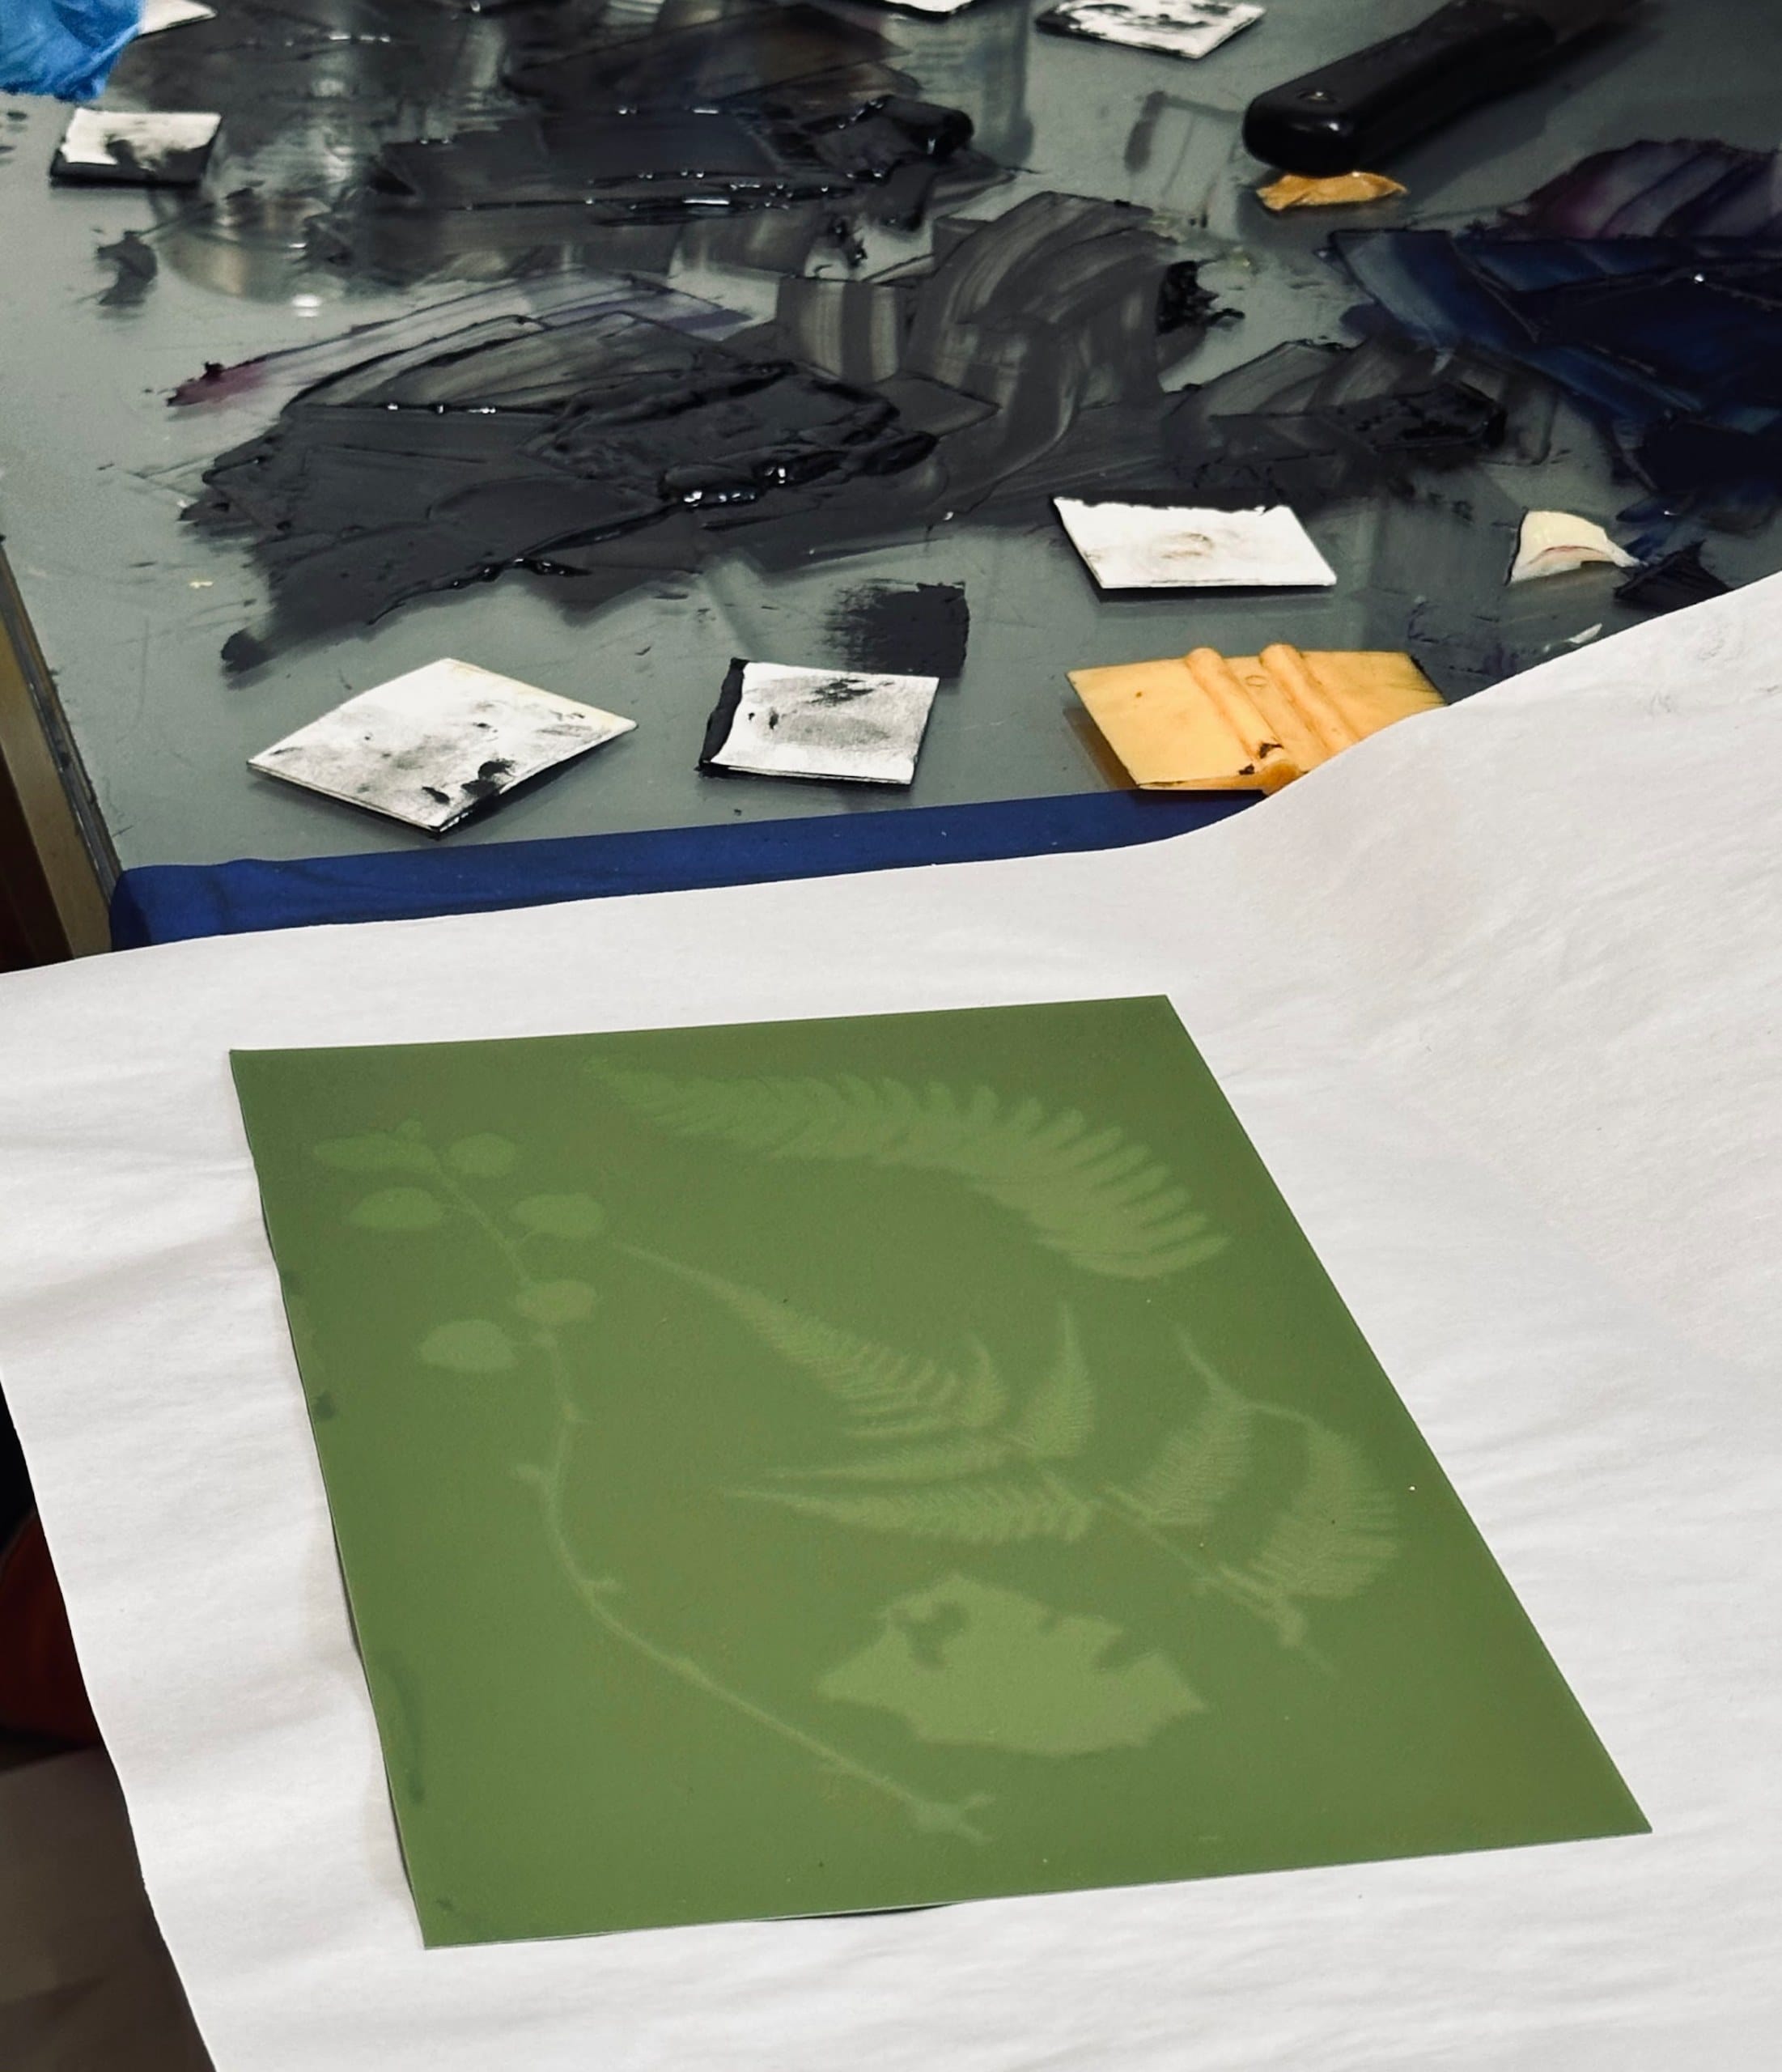
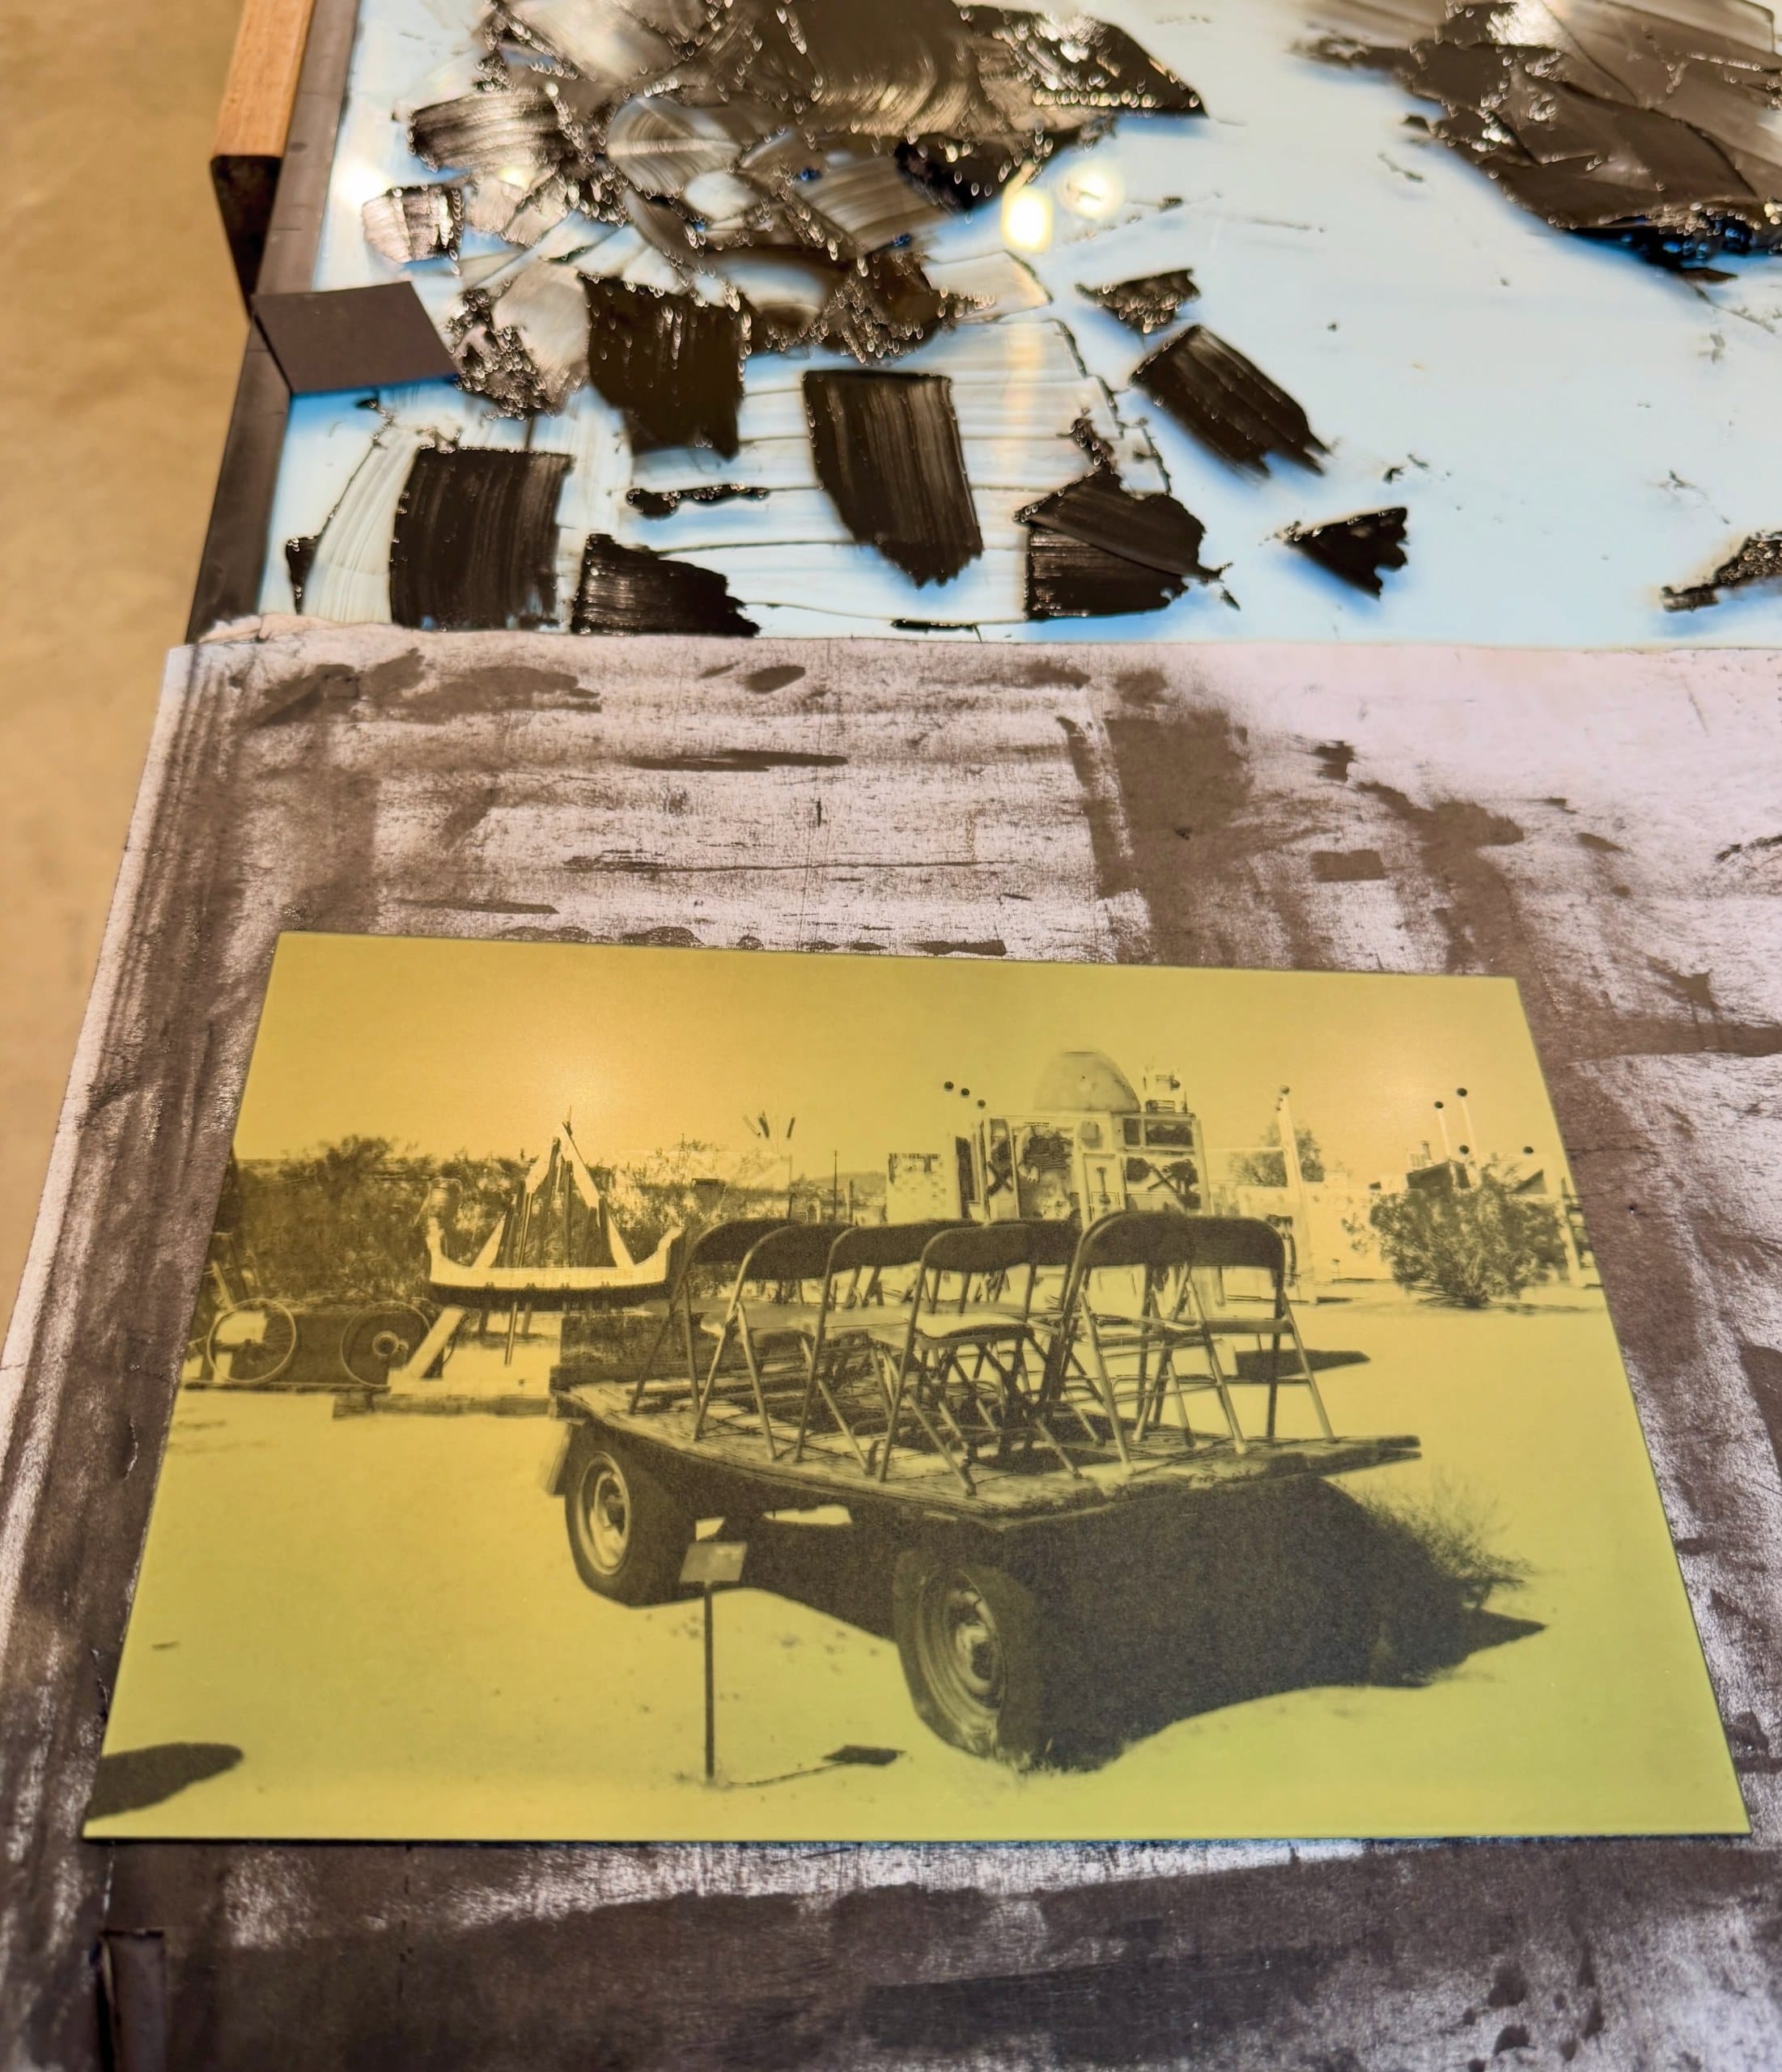
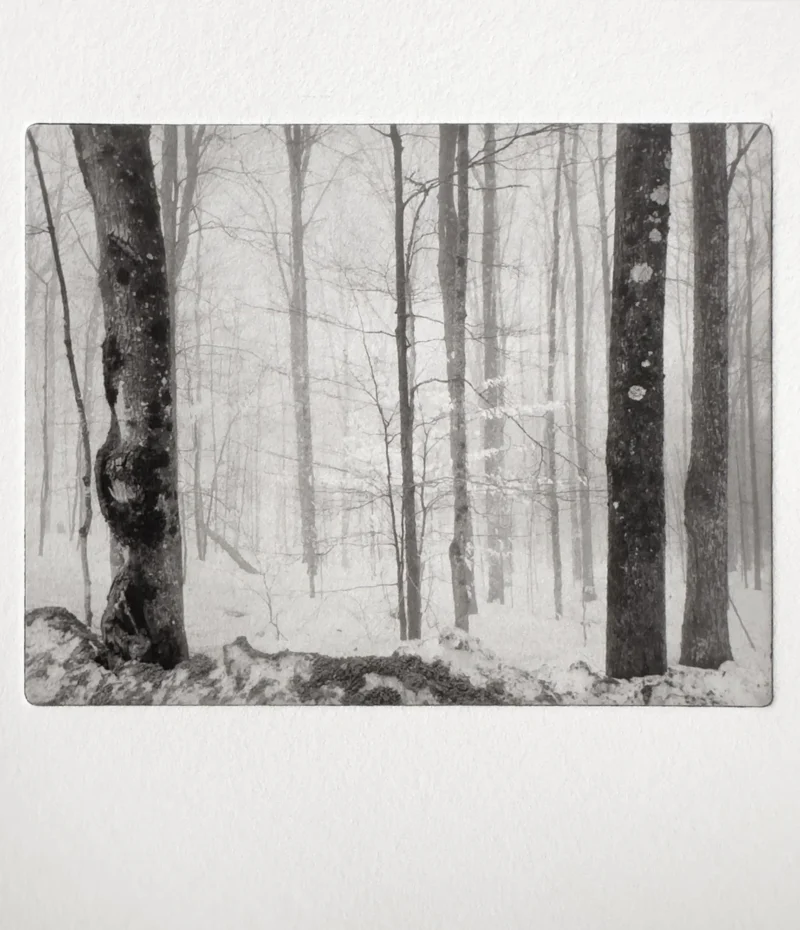
Our method prints the image and the bite texture onto the plate at the same time, straight from an Epson inkjet printer. Inks of different UV translucency do the work that an aquatint screen and a film positive used to do. The result is a photopolymer gravure plate that is optically dotless, with thousands of printable tonal values and rich, deep blacks.
The workflow has been field-tested at institutions including the Rhode Island School of Design and the School of the Art Institute of Chicago, and at studios such as Jillian Ross Print and Mountain Intaglio.
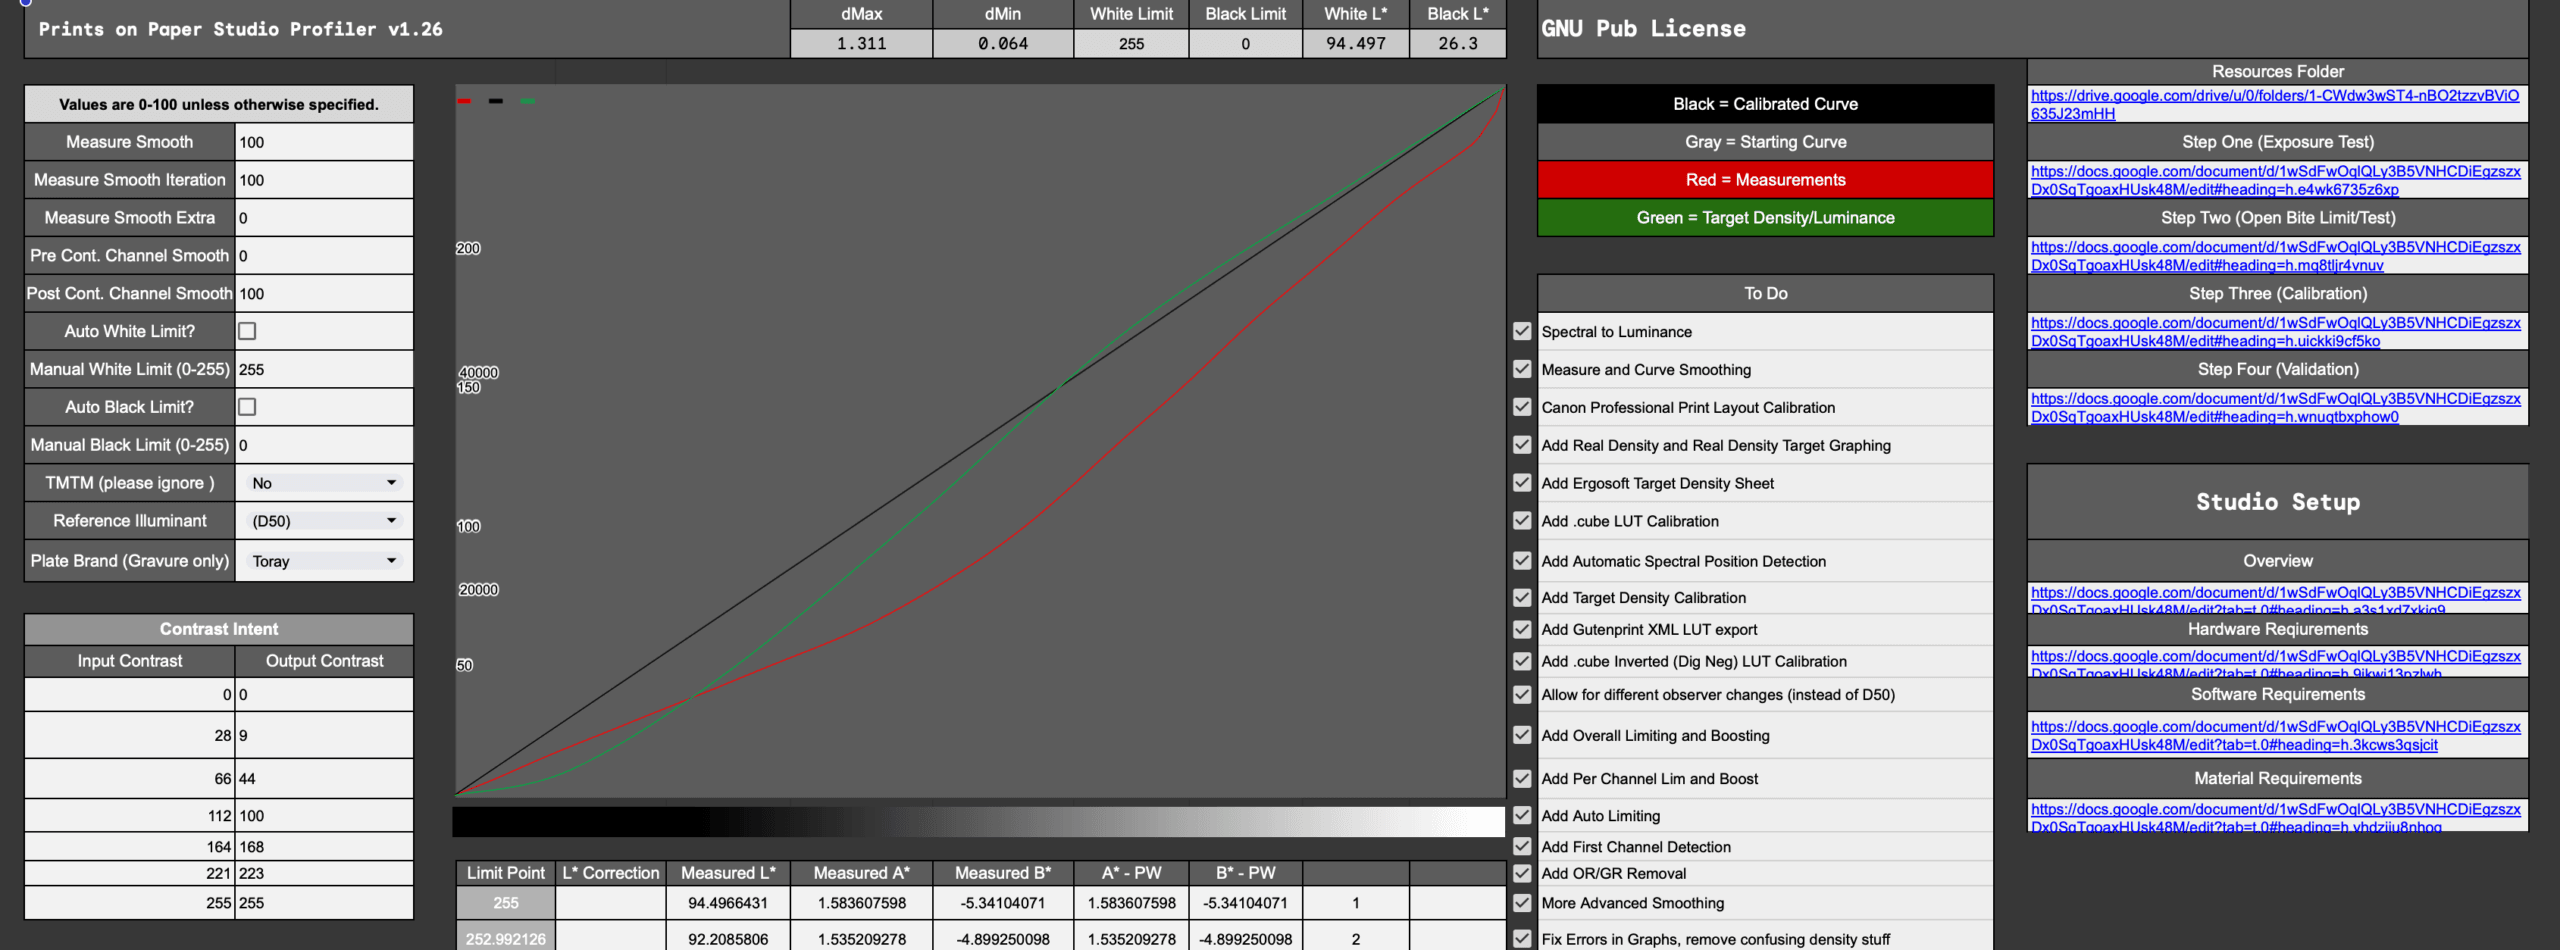
A generic preset can’t know your exposure unit, your ink blend or how you wipe. This workflow calibrates the curve to the prints you actually pull, so the tones on paper match the image on screen. Calibration takes four steps:
Once it’s done, a calibration lasts for months or even years, until your materials or process change. You only need extra calibrations for different ink transparencies or if you notice a plate batch change.
| Category | Requirements |
|---|---|
| Printer | Large-format Epson printer that QuadToneRIP supports, with Epson inks |
| Computer and software | Mac computer, QuadToneRIP with Print-Tool, and i1Profiler (free to use) |
| Measurement | X-Rite i1Pro Rev E or i1Pro 3 (not i1Pro 3 Plus) spectrophotometer |
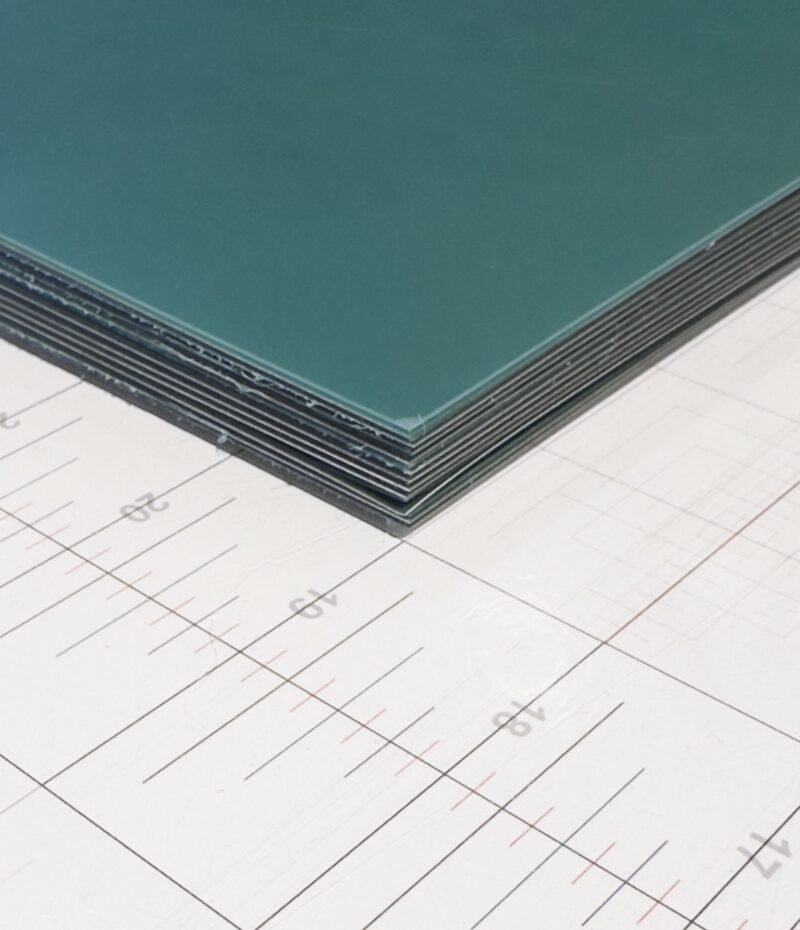
| Plates | Toray water-wash, steel-backed photopolymer plates, such as our Torelief WS95HK2 |
| Studio equipment | Etching press, UV exposure unit, plate cutter, glass inking table, magnet table, flat files and a print drying system |
| Printing supplies | Etching ink, etching paper (we use Hahnemühle Copperplate or BFK Rives), newsprint, tissue, paper towel and Akua Wipe |
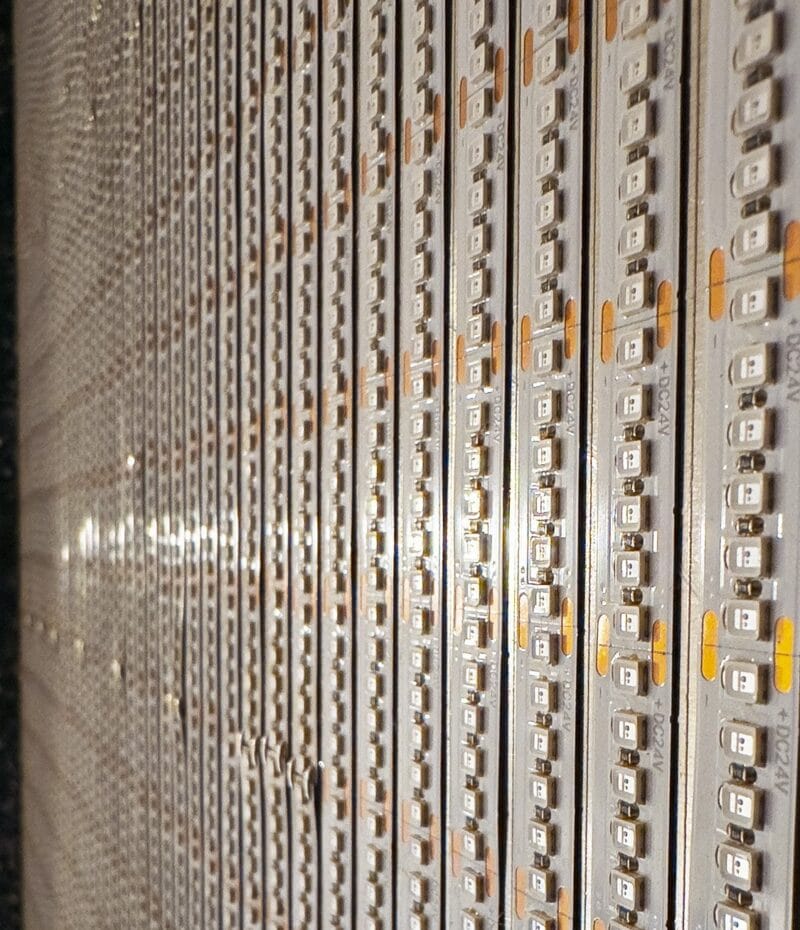
Building an exposure unit? Our TRUE-365TM 24V 365nm UV LED strips come with a build guide and wiring diagrams right on the product page.
After purchase, we share the workflow folder on Google Drive with you by email, as read-only. It holds the manual, curves, Profiler, targets and videos.
Want us in your studio? In-person setup and training are available on a custom-quoted basis. Contact us for a quote. We’ve set up more than twenty studios and institutions.
How do I get the workflow after I buy it?
We share the workflow folder on Google Drive with you by email, as read-only. It contains the training manual, QuadToneRIP curves, the Profiler, calibration targets and videos.
Is the setup support remote or in person?
The five hours of setup support are done remotely. In-person setup and training at your studio or school are available on a custom-quoted basis. Contact us for a quote.
What is direct-to-plate (DTP) photogravure?
It’s a polymer photogravure method where the image is printed by an inkjet printer directly onto a photopolymer plate, instead of onto a film positive. The plate is then exposed to UV light, washed out in water, inked and printed on an etching press like any intaglio plate.
Do I need special inks?
No. The workflow uses standard Epson pigment inks driven by QuadToneRIP. Unlike some DTP systems, such as Piezography® DTP, you don’t need a dedicated monochrome ink set. That being said, we have starter curves for Piezography Pro. And this process can be adapted to work with Piezography K7 P2 ink-sets as long as you are not using Selenium as Selenium Shade 2 will bleed.
Can I use this workflow with other plates besides the ones you sell?
Yes. You can use this workflow with any other Toray steel backed water wash plate that is 65 Shore D plate.
Can I use Toyobo plates with this workflow?
Yes and no. We have some starting curves in the workflow for Toyobo but this material sucks in humidity and splotches easily. We think it will only work if you are under 20% RH which also kills inkjet printers. So this might work in the desert of Australia or New Mexico. Go for it and let us know.
Which plates does it work with?
The calibration process works with any Torelief-type water-wash, steel-backed plate, the green letterpress plates that turn yellow under UV. Starting curves are included for Toray HK and HX plates. We use Torelief WS95HK2 every day. This workflow MIGHT work with the Nyloprint plates on P900 and P5370 printers that use PK ink as the mid-gray instead of Cyan. Cyan bleeds on the nyloprint plates. We have not testing PK. These also may work on the Toyobos in dry conditions. We have tested every single other plate material on the planet . . .
Do I need a spectrophotometer?
Yes, for calibration. You’ll need an X-Rite i1Pro Rev E or i1Pro 3 (not the Plus) and the free i1Profiler software. Calibrating to your own prints is what makes the tones match your screen.
Does it work on Windows?
The workflow is built around a Mac with QuadToneRIP and Print-Tool, which is how we run it in our studio.
Can I use other RIPs, like Tirage?
The workflow and curves are built for QuadToneRIP. We may also support newer workflows, such as Richard Boutwell’s Tirage RIP and Tirage Print software. If that’s what you use, contact us before you buy.
How long does calibration take?
Plan on a few days. Each step involves printing, exposing and pulling a plate, and the calibration and validation prints need to dry overnight before you measure them.
Do you teach this in person?
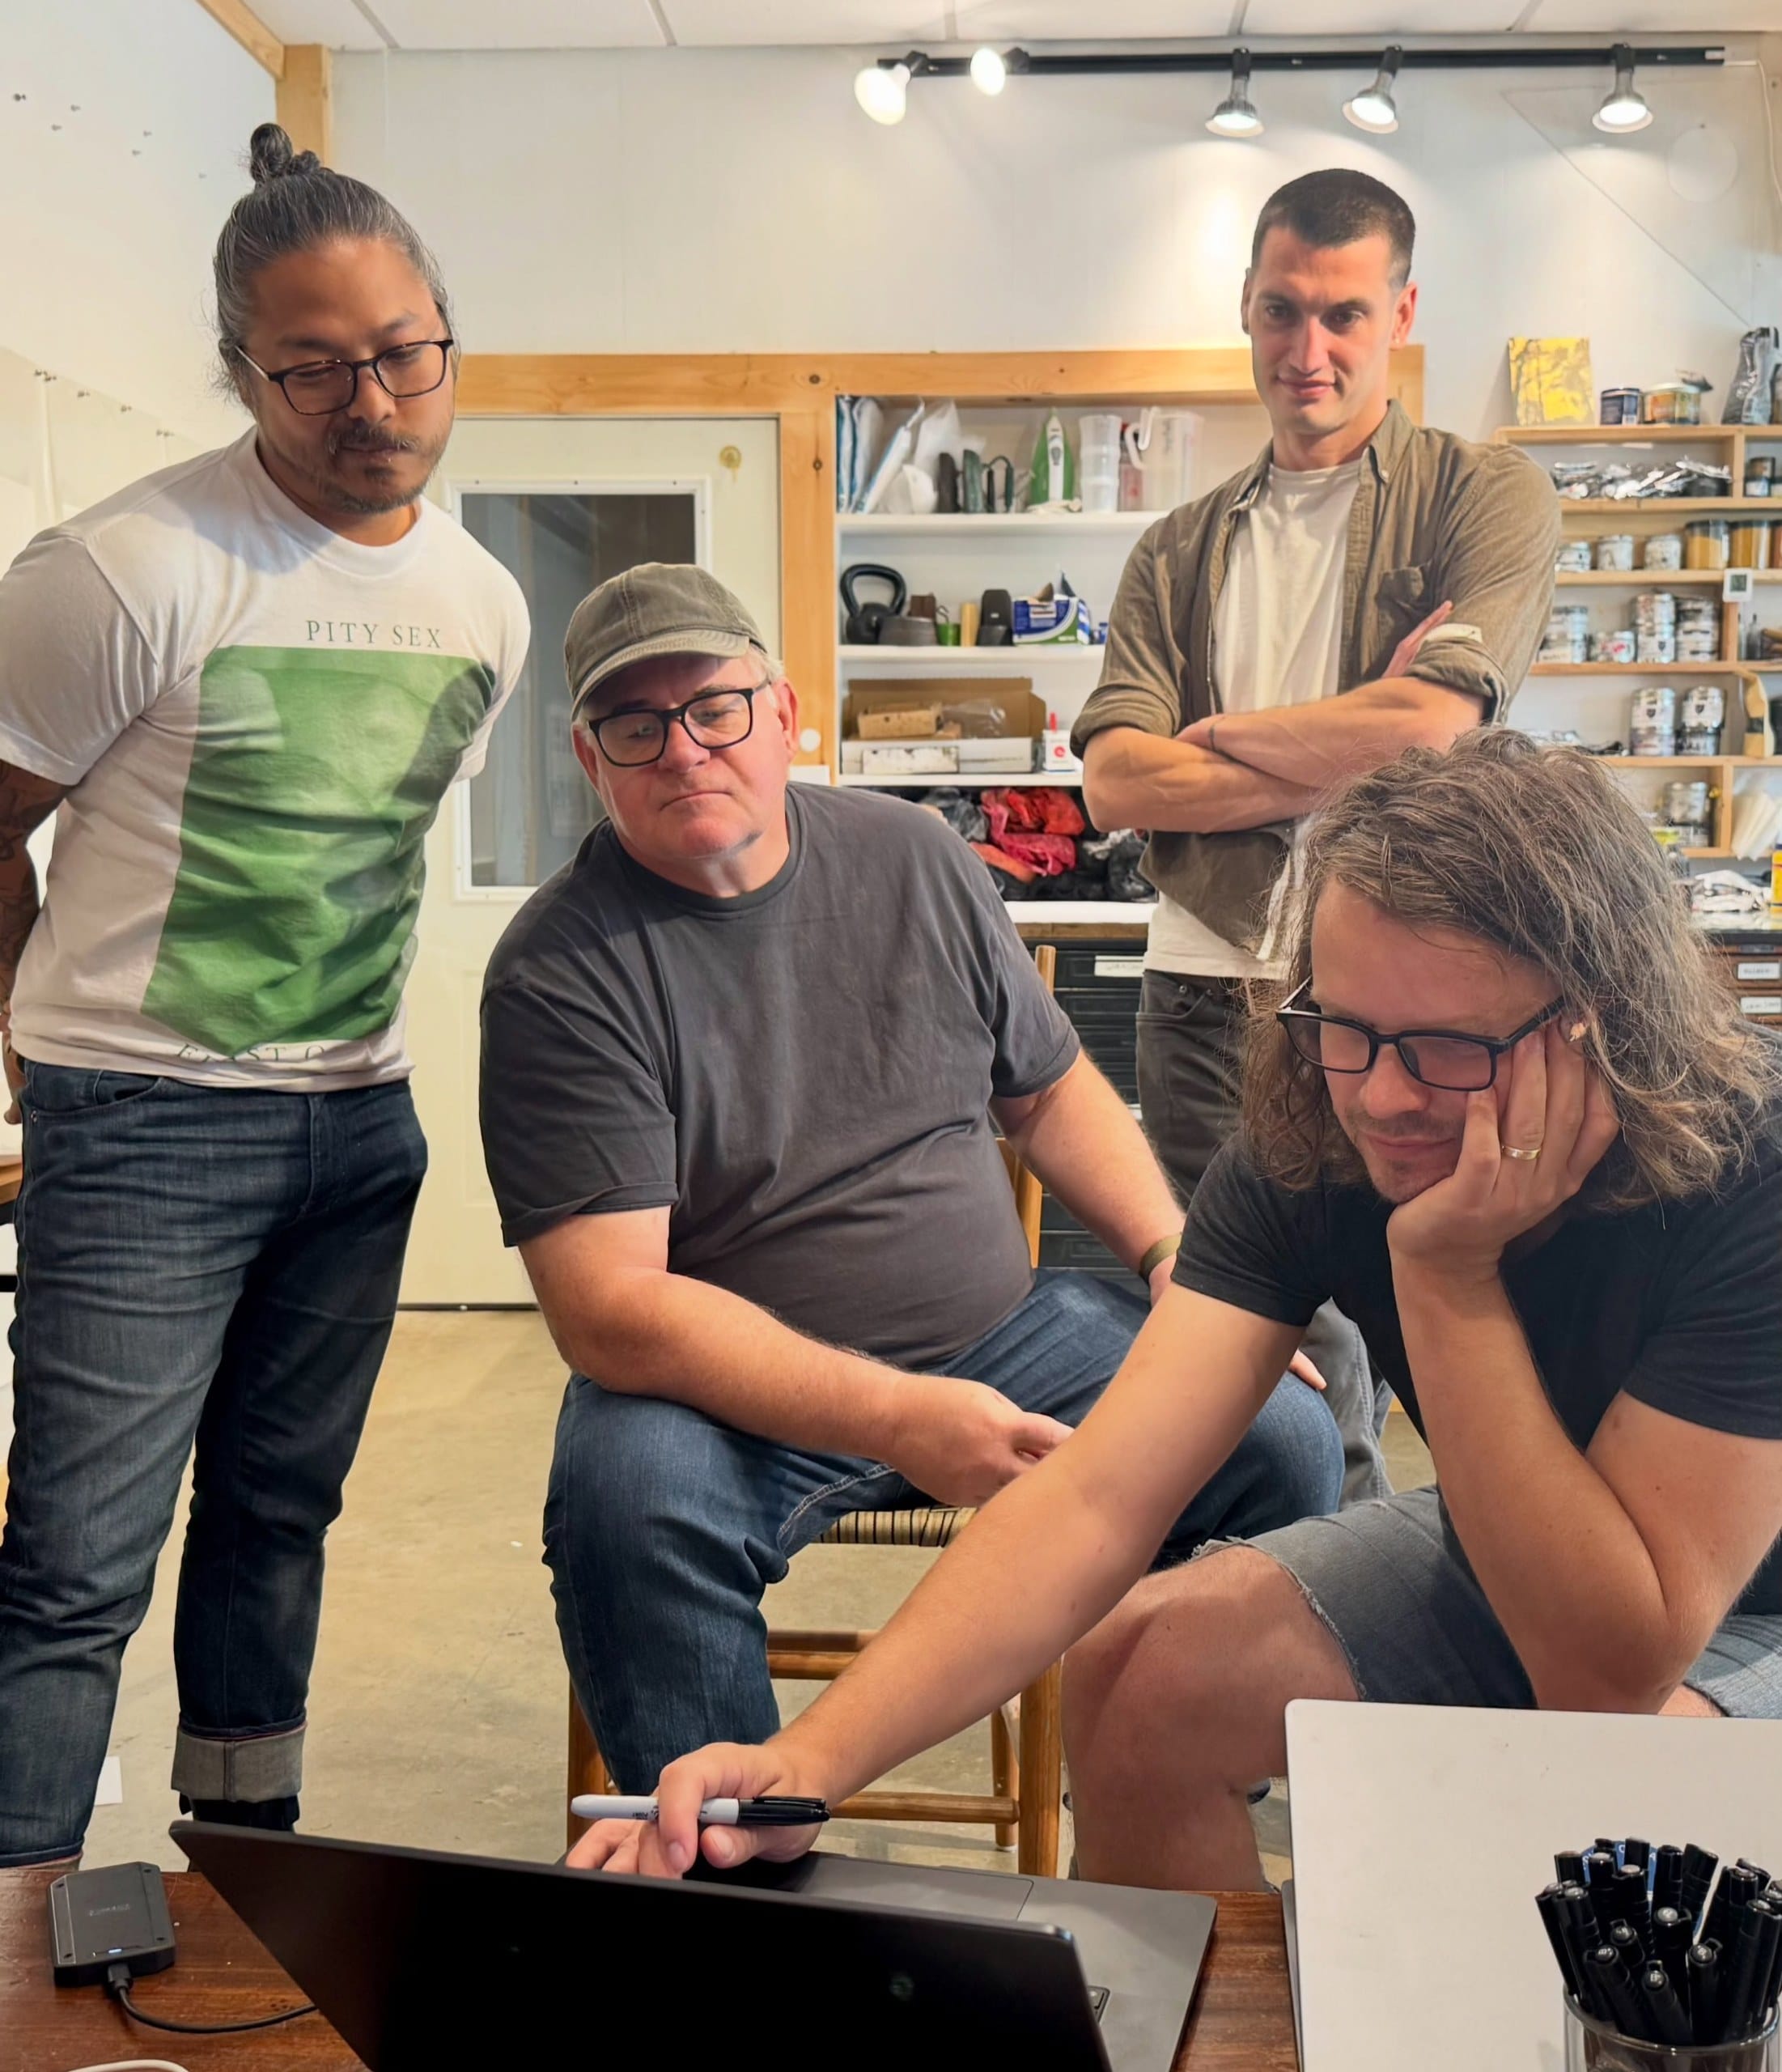
Yes! We teach the printing side in person. Prints on Paper Studio runs polymer photogravure workshops in Cabot, Vermont. Included in each in-person workshop is this workflow + 5 hours of remote setup support!
In stock
Select options This product has multiple variants. The options may be chosen on the product page